Showing posts with label 2011. Show all posts

Friday, February 17, 2012

Ssssssssparkly

2011_12_03 NYC

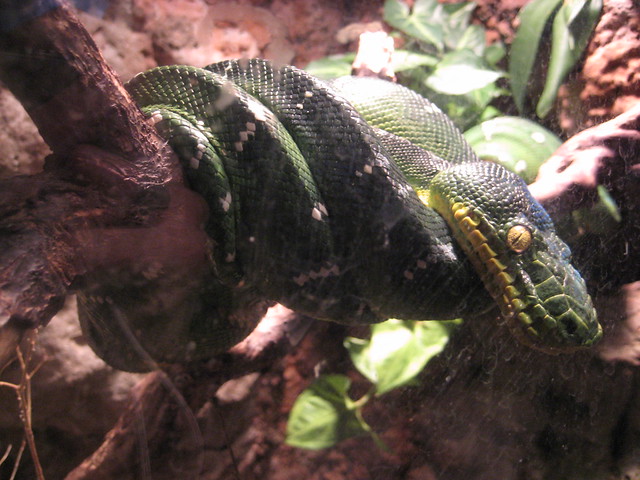
I was going through the few photos I took during my NYC excursion in December, and this fellow jumped out at me - An Emerald Tree Boa at Central Park Zoo. The slithery scales were so vibrant and bright, I wish the glass on the enclosure wasn't so dirty so you could see just how gorgeous the colors are. I know snakes don't float a lot of peoples boats, but I love the visual texture of snake skin. 

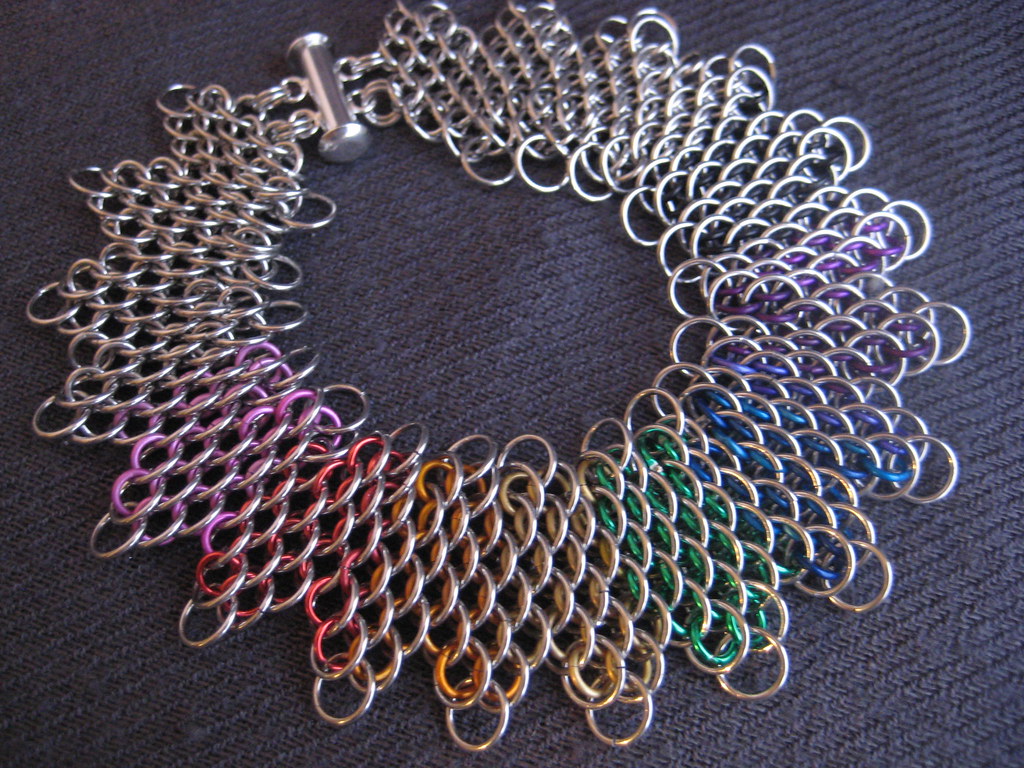
That might be why some of my favorite chainmaille patterns are "scale" styles - like Dragonscale


Rainbow patterns in Dragonscale are awesome - 

This piece was one I finished for a custom request - 
I love the fringed pattern and how the colors go through the spectrum.

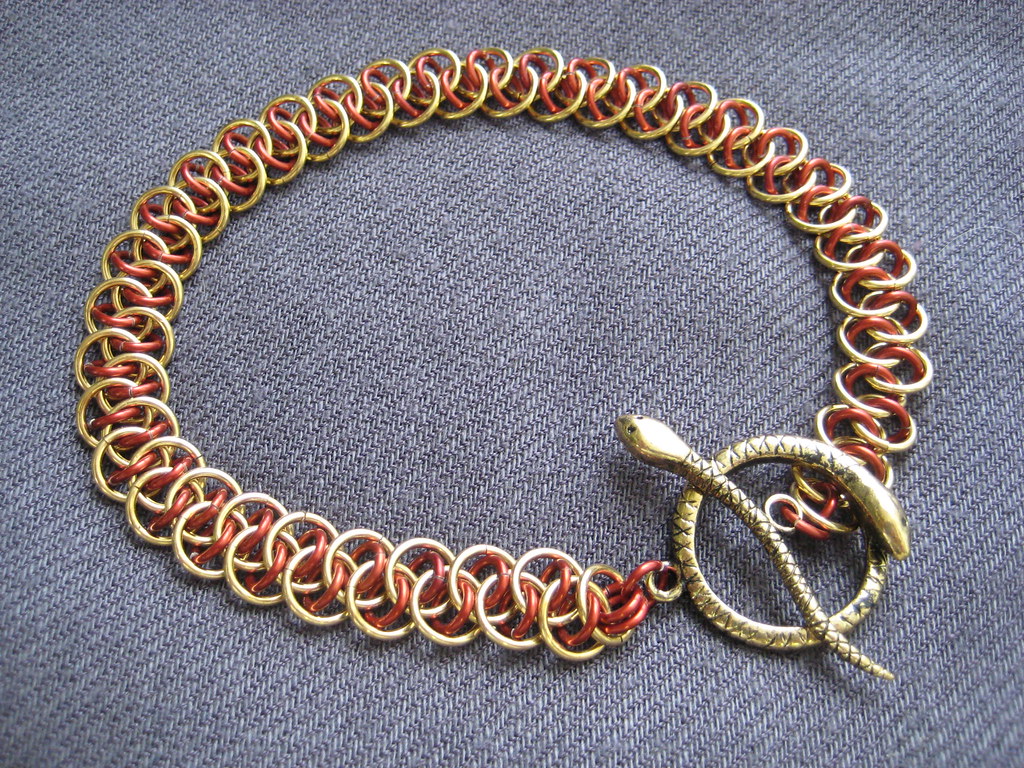
Another one of my favorite snaky styles is called "Shenanigans"


This piece just called out for a matching clasp. I called this bracelet "Garden of Eden", because of the serpent influences, and the use of apple red rings.

There are even more patterns I have yet to learn, but hopefully sometime soon I will have them in my arsenal. Until then, I hope you enjoy examining the details of the intricate ring linking as much as I do.

Tuesday, December 20, 2011

Tuesday How To - Now Let Me See Your Pumpkin Rolllll

Forgive my throwback title, I couldnt resist.

Does your family have a traditional holiday dessert? Every year I try to make one of my favorite seasonal baked goods - a pumpkin roll. If you ever use Libby's brand pumpkin puree, there is a photo of one on the can and a note to visit their website for the recipe. I've sent the recipe to people for swaps, too, so I thought that it would maybe help to document the process in case some people dont know what I'm talking about. I'm a visual learner myself, so pictures always help me when I'm trying something new.

To start, here's the recipe:

Pumpkin Roll

Cake:
3/4 C. Flour
1 Tsp Salt
3 Large Eggs
1 C. Sugar
2/3 C. Canned (cooked) Pumpkin/ pumpkin puree

Filling:
8 oz cream cheese
1 C. sifted confectioners sugar
2 TBS butter (softend)
1 Tsp vanilla

Start by preheating your oven to 350 degrees (F).

Then you butter and flour (well) a jelly roll pan. If you're not familiar with what a jelly roll pan is, it's about 12 x 17 and 1 inch deep. Essentially a baking sheet with sides.

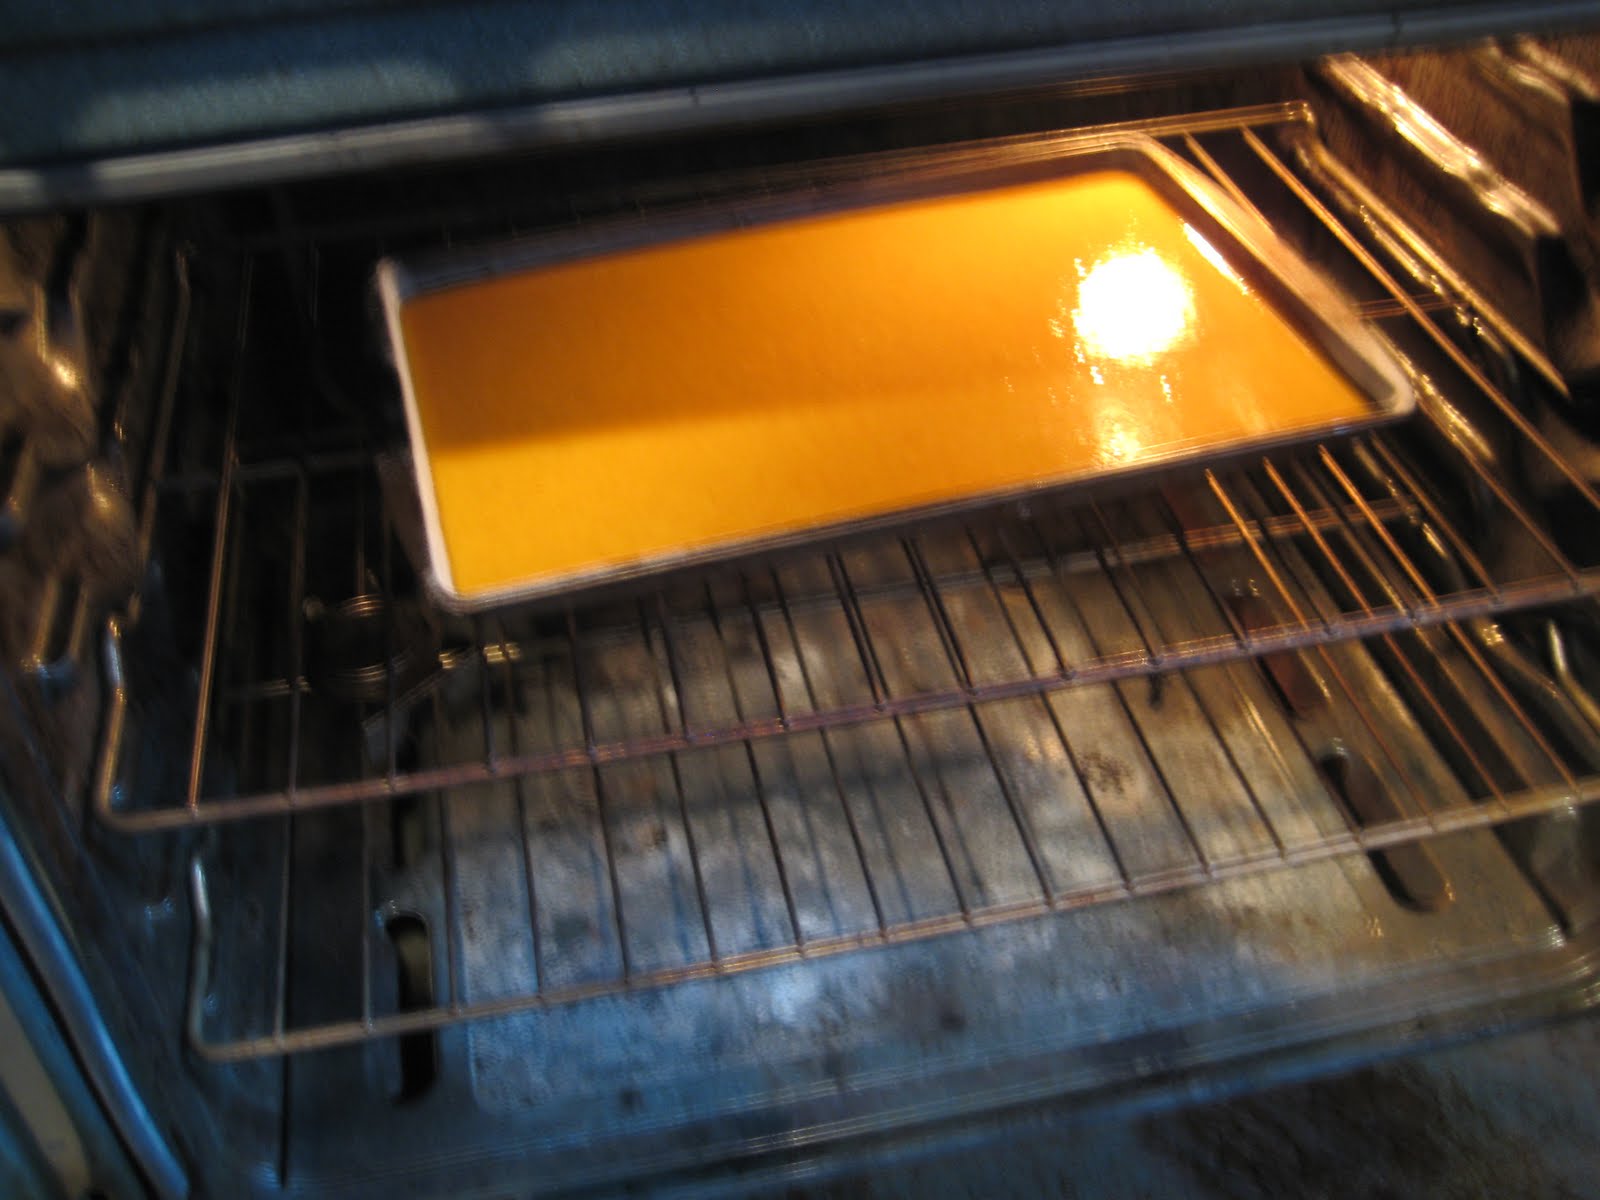
Combine your cake ingredients in a bowl (dry first then add the wet), and mix until thick. Then pour your batter into the jelly roll pan and spread it out evenly, like so:


Sometimes if it's bubbly I lightly "tap" the pan on the counter to get them out.

Pop the pan in the oven for about 13-15 minutes, or until its springy (it might not take that long, depending on your oven).

 
While the cake is baking, prep a clean, dry, flat weave towel by laying it flat and sprinkling it generously with powdered sugar. If you want to buy one, they're usually labelled as "flour sack" towels.


Here's what mine looks like -

 Dont lie, I know you think it's hot :)

When you take the cake out of the oven, make sure you dont reach around the potholder and burn your thumb like I did (ouch). Pull it out, loosen the sides, and turn it onto your prepped towel, then dust the top with more sugar. My cake usually ends up sticking to the pan, but just use a long spatula and carefully separate it if the cake needs a little help.


Next is the most difficult part - rolling the cake. You need to do this while it is warm because it is easiest, and as it cools the cake will keep the "memory" of being rolled, and make it easier when you put the filling on it. Starting on the LONG side, carefully roll it up in the towel, like so:


Let it cool about 15 minutes. While you're waiting is a good time to mix up your frosting. Make sure your cream cheese and butter are softened, and that you sift your confectioners sugar as this helps keep the smoothest consistency for the filling. I usually forget about the sifting, but thats just because I dont have anything to do it with. Add the ingredients in a bowl and mix it up.


By now your cake should be cool, so unroll the towel and get to fillin'- I usually fill on the "under" side (that was in the pan), because then the nice top part is what you see when you eat it.


Then you roll the cake up again - leave the towel out this time, though.


Wrap it up in waxed paper or parchment, and pop it in the fridge. When its ready to serve, slice it up and make it pretty on a plate.

nom nom.


Happy Eating!

Friday, December 16, 2011

Salt City Chains Worldwide

I love sending out orders across the globe, so I thought I'd share a map of where my jewelry has gone off to

Within the US -


And everywhere -


I wonder where I'll "go" next?

Wednesday, December 14, 2011

Holiday Indie Garage Sale 2011

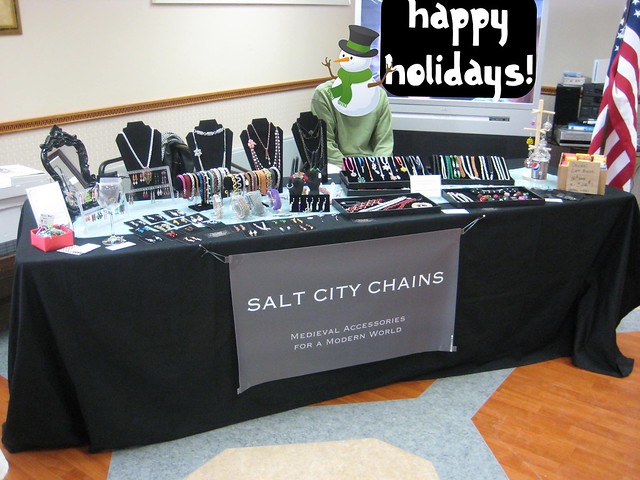
Now that I've taken a few days to recuperate from the whirlwind that was the Holiday Indie Garage Sale, I thought I'd share the experience with you -


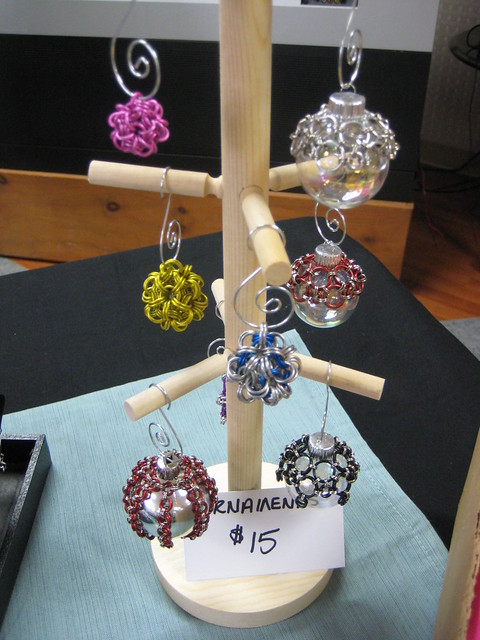
One thing I notice with every show I do is that my table displays get invariably better. With my latest line of ornaments I thought it would be appropriate to display on a christmas tree. Of course, toting around a live tree wouldn't be practical, and my first attempt using a fiber optic tree resulted in the ornaments just blending into the branches. On a visit to Hobby Lobby I found they had the perfect little tree - It matches my color scheme, and lets the ornaments shine (and I got it for 60% off).


I got the shelving units at Target - they were really handy for bringing my items up into view. Like these awesome new scale earrings -


They were really popular - I also found some nice bottles to display my wine bottle jewelry on -


The venue itself was amazing - I had only been to the train station once before a long time ago, but the interior is just lovely. Why cant public buildings have the same detail as they used to?

view from my booth

We were also lucky enough to witness the Polar Express ride. It was fun to see the kids walking around the station in their pyjamas, especially when their parents wore a matching set. There were "elves" singing carols, too, it's too bad the accoustics could be better in the building:


Of course I couldn't help but make a few purchases myself - I tried to get around to the shops I included in my Etsy treasury, here are a few things I came home with - 

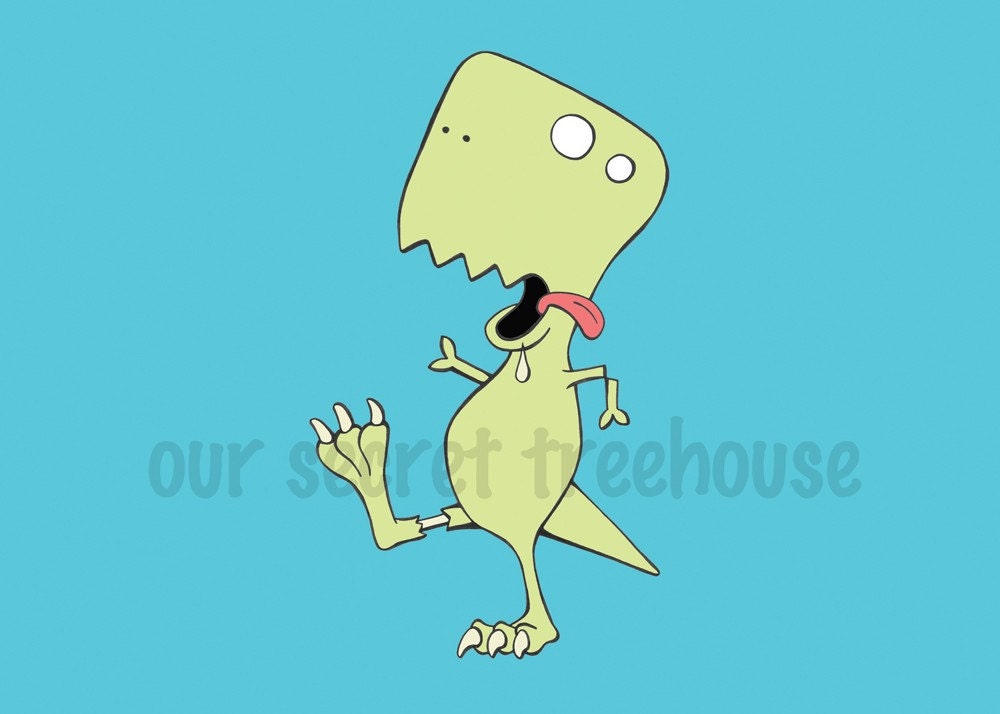
Zombie Dinosaurs - Tyrannosaurus Print (5x7 Matted Print)
A Zombie Dino Print (plus two others) from Our Secret Treehouse

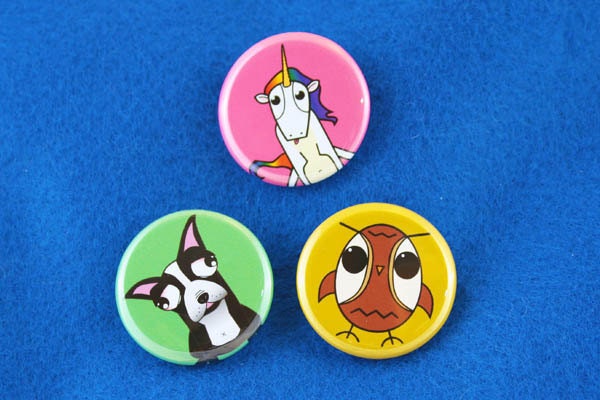
Choose any 3 buttons out of 31 designs  --  Free Shipping
Dumpling Animal Pins from Goats N Glory - I got the boston terrier, the narwhal, and a deer.

I also bought some gorgeous paper crane ornaments from East Knot West - They look great on the tree.

I wish I had been able to get around more and really shop, but I was there by myself and it was a crowded event! It's awesome that the show had such a great turnout - I love being in a community that supports local crafters and artists, and it is always fun to make new friends. The coordinators Rob and Alison always do a great job (even when there are setbacks they can't anticipate), and I know I appreciate all the effort they put in to make sure the show runs as smoothly as possible.

Now that there is only a week or so left until Christmas, I am busy fulfilling some orders and tweaking photos and things in my shop. After the holidays I'm going to give myself a little break to work on some side projects I haven't been able to get to, and then I'll get back to the workbench creating new pieces to ooh and aah over. I have a few more posts ready to go for the blog so stay tuned for those, too.

I wish you all a warm and Happy Holiday

Wednesday, December 7, 2011

Tutorial: Origami Gift Box

Here's the tutorial I promised to share with you last time - a simple origami gift box!

  • I started with a 12 x 12 piece of scrapbook paper, you can start with any size that has equal sides
  • Fold it in half both ways
 
  • Then bring the points in to meet the "x" created by the folds
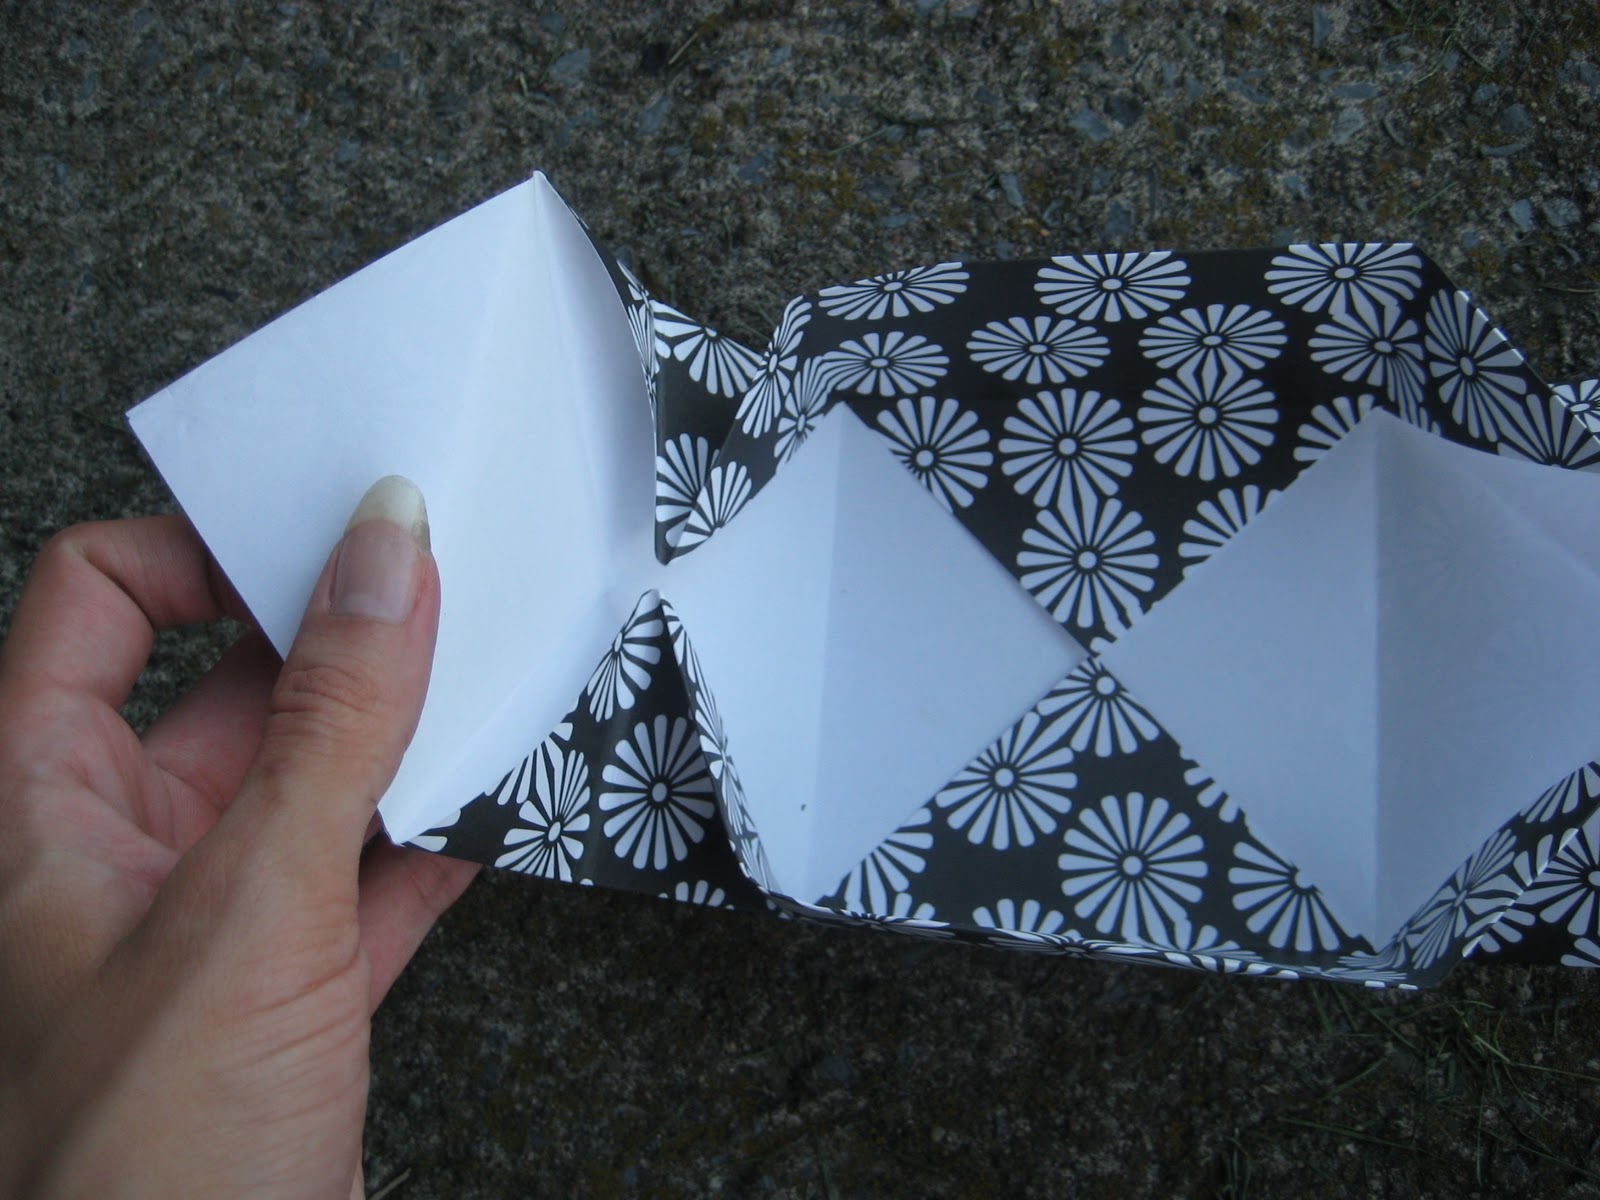
  • unfold 2 of the flaps like so:
  •  Then fold the flat sides to meet in the center:
  •  Then take the pointed side and fold it to meet the edge like this:
  •  do that in both directions, on both ends:
  •  Open it back up and fold the point down to match the creases you just made on the opposite side:
  •  do that on both ends, your paper should look like this:
  •  The creases and folds should pretty much do the work for you from this point -
  •  fold the sides in to meet
  • Then fold the pointed "flap" over the sides to hold everything together-
  •  Repeat on the opposite side. Ta Da!
To make the bottom of the box, cut your sheet of paper roughly 1/2" smaller than the size you just used.

You can use just about any type of paper for this - scrapbook paper, plain white paper, I've even used paper bags in a pinch! This little box is a great way to add an extra special handmade touch to a gift. I've also taken to using them as the packaging for my jewelry, or when I'm working on chainmaille or beadwork and need an extra container. These also work great just making one half and using it as a catch all on your desk, to hold coins, paper clips, or even candy! The uses are endless. What would you use it for?

Next time around I'll share how to make the flower on top!

**addendum - My origami box was also featured on One Pretty Thing in the Flickr Friends Roundup!**
Thanks so much!

Wednesday, November 30, 2011

Hip To Be Square

I am always on the lookout to incorporate unique materials in my work not only to expand my skill level but also to give an updated look to chainmaille as people know it. One of the newer trends among chainmaillers is to use rings that are made of square wire. These are a little bit tougher to work with sometimes, because even when they are the same size as round wire rings they don't always work for the same patterns that "normal" rings can be used for.

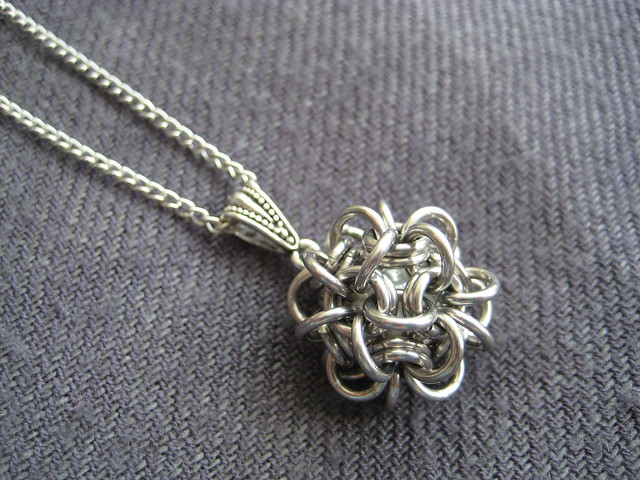
As an example - One of my favorite patterns to make is a dodecahedron ball ( I call them my "Porcupine Balls"). It looks like this -


 When I tried to create the same thing with the square wire rings I was using, even though the size was similar, the pattern was not coming together properly. I almost got discouraged that I'd have to take it all apart and start over, but then something about the shape got my brain moving. The rings were stiff enough to keep the pearl inside captive, so I thought it would work out well as a ring design. I attached it to a simple mesh band and here's what it turned out like:


It's not scratchy like you might think from the edges. The mesh has loosened up a little bit, but that is normal for most rings. I wore it a few days in a row and it was quite a conversation piece! It makes me think of a geodesic dome, like at epcot or an observation center. It's very sci-fi in my opinion.

The reason I bought the square rings in the first place was actually for a custom order - The request was for a stainless steel byzantine bracelet in a heavy gauge. It was going to be a Christmas gift for a man. I am not a fan of working with heavy gauge stainless steel. Rather than turn the customer away, I made the suggestion for the square rings and it was accepted. Here it is:


I'm happy with how my experimenting has turned out lately. I'm working on some modifications of the ring design, and I have some smaller sized square rings that I'll be using for other projects as well. The square rings may be a new favorite of mine - they give the pieces more of a modern edge, which is what I gear my style towards. Stay tuned and I'll be sharing even more fun developments with you.

Tuesday, November 29, 2011

Valley Health Services Holiday Bazaar 2011

Since the first big hurdle of my holiday season is over I thought I'd share a little recap of my last events. I didn't get any photos from the house party I did, but it was a big success. I am a tactile shopper myself, so I love being able to actually show my items to people so they can see and touch it for themselves. I also tend to tease that the more they hold onto something the more they must want it. Sometimes it even works! I hope to be able to do more private shows in the coming year and plan to develop that more too.

The monday after that was the Holiday Bazaar that My moms workplace holds every year to support their Residents council, and this was my second year in attendance.

(I didn't think you'd want to watch Days of Our Lives)

My new banner I ordered from Vistaprint showed up the week before, I could not be happier with it! I am so happy that now people will be able to come around and actually "know" who I am. Especially next month since the Indie Garage Sale is supposed to have around 100 vendors, it will help people find me.

My table is always a work in progress - I am planning to get some new things this week to help give my displays an even more organized and chic look. It is slowly coming together, though.


My ornaments and wine charms have turned into popular items - I plan on making a lot more, but I'm trying to brainstorm how to effectively display those, too. I can't exactly have a christmas tree crowding my table, as pretty as it would look.


I've already sold out most of my sets, so I think its a good idea for me to get a move on finding more charms to make more. I should probably specify that individuals can be mixed and matched for sets if people so desire.

The Bazaar was a lot of fun. I was glad my boyfriend was able to be there to help me carry things, and since my mom works there she is my best advertising. I wish I could have won a few of the raffles I entered, but then again my luck is not always the best. It's a good thing I rely more on my skill :).

In Two Weeks I will be vending at the Indie Garage Sale! I am excited and a little nervous. I did well at the show last year. I wish I had this weekend to work on items for it but I am going on my yearly NYC trip, so I will have to squeeze in Shop time after work and as I can manage. It might get a little rough, especially with "normal" holiday planning and shopping. At least I managed to grab some good Cyber Monday deals to fill peoples stockings with. Hope your holiday season is going well too!

Friday, November 25, 2011


Just for YOU, my readers here, 25% OFF in My Etsy Shop with coupon THANKSFANS25

Etsy is free to join and shop - I use Paypal for checkout which is a secure method and you can use your credit or debit card without having to open an account there. Or you can simply email me with a purchase request and I can send you a Paypal invoice.

Happy Shopping!

Friday, November 11, 2011

Chainmaille Wine Swag

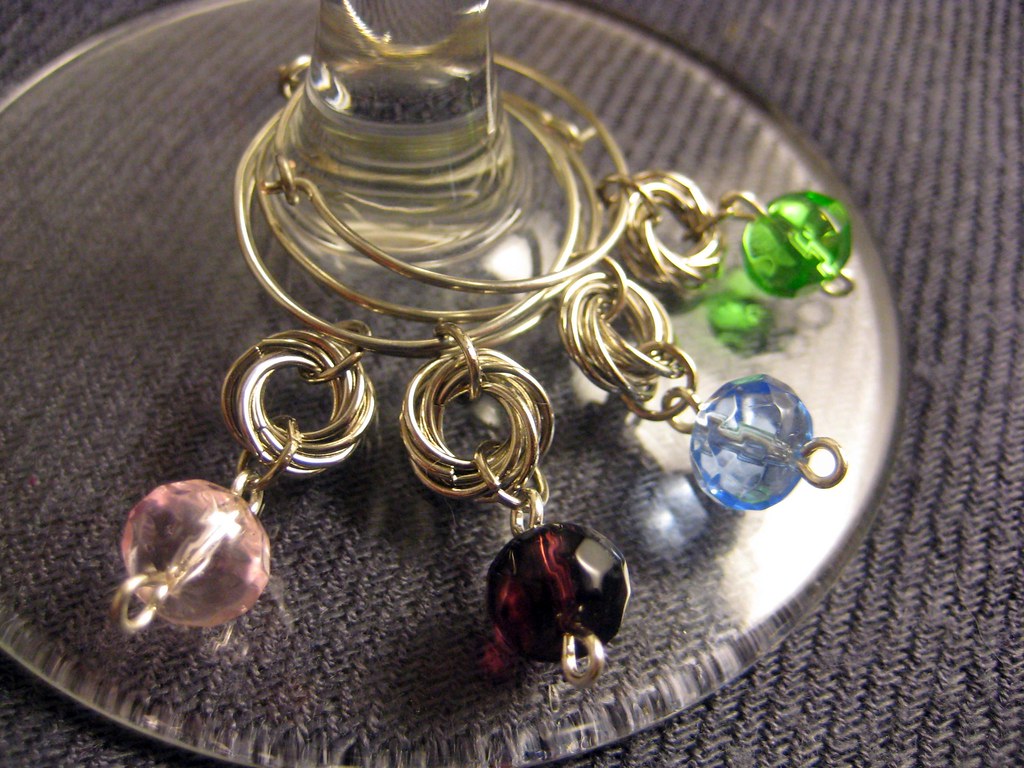
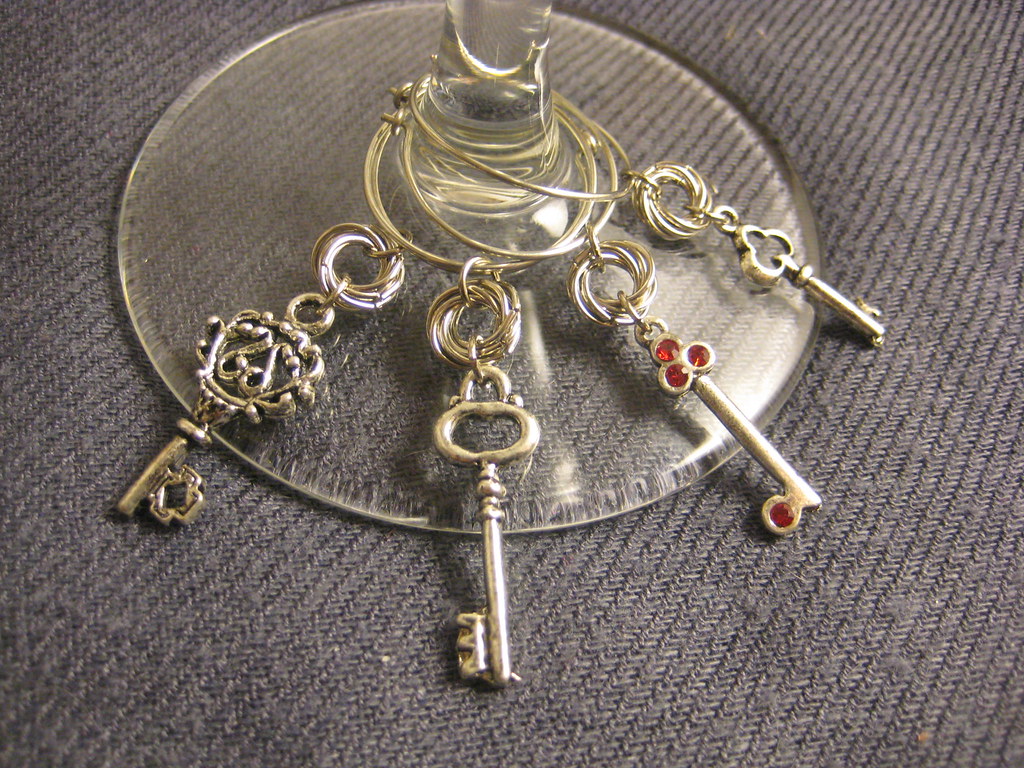
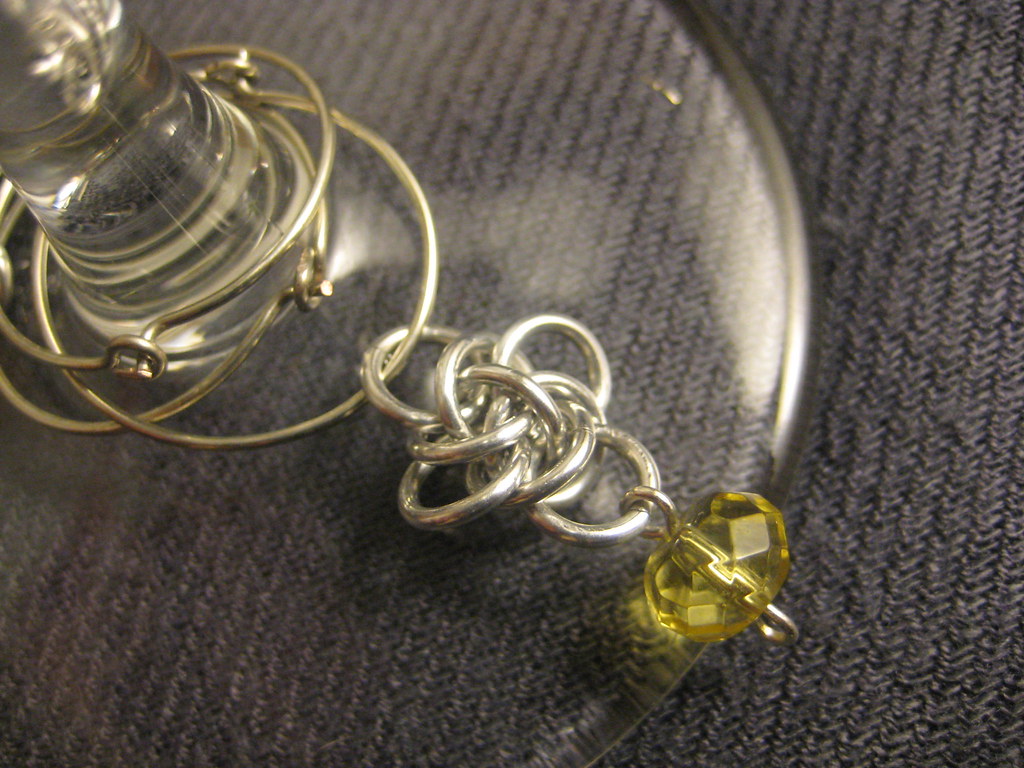
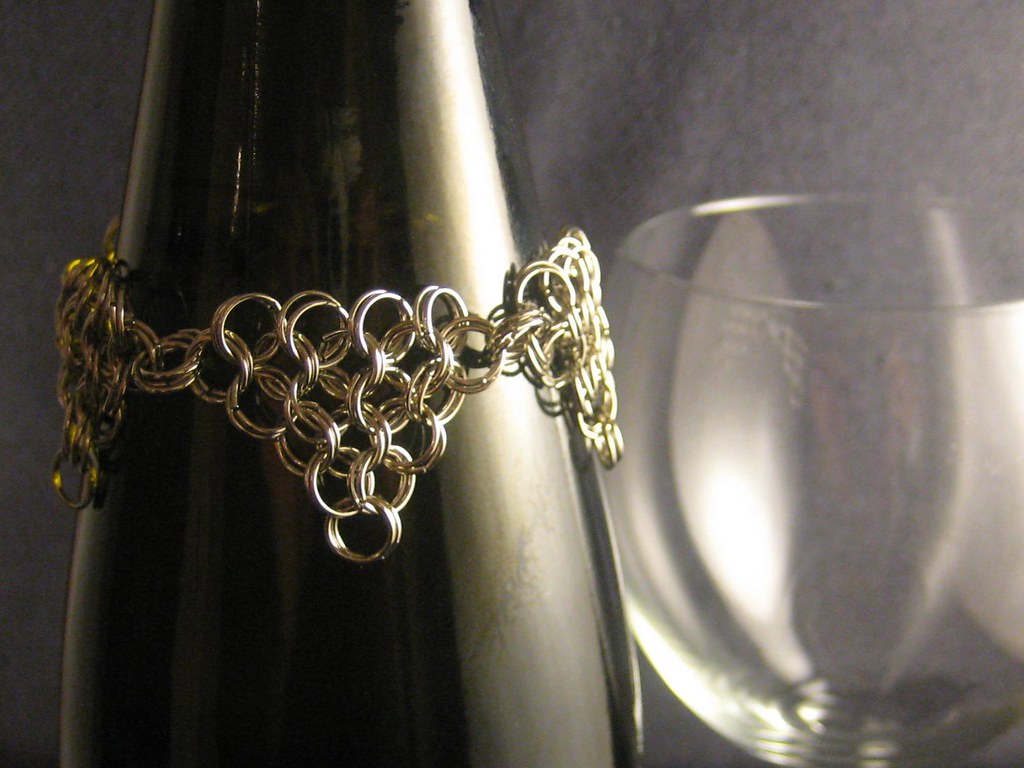
The other night I got around to photographing and listing some new items I've been working on lately - Wine Glass Charms and Bottle Necklaces.

As we head into holiday season for many that means an upswing in the festivities. Wine glass charms are a great for hostess gifts or a housewarming parties, and especially fun for your favorite wine-lover. Also, they're one size fits all! How can you go wront with that? I made a few different sets of four, and theyll also be available in larger quantities here and there, too (like sets of 6, 8 and 12)


I also made some single pieces that can be mixed and matched


Citrine is a big trend stone for november since it resembles Topaz - Novembers birthstone

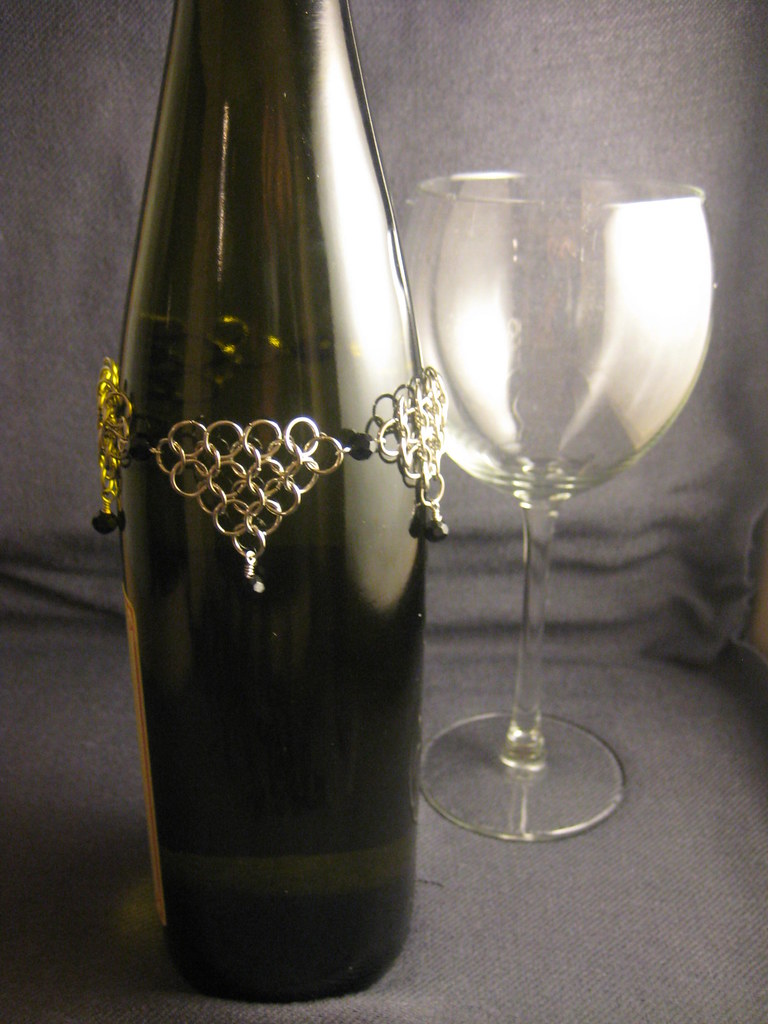
The bottle necklaces are a personal favorite, though - even if you aren't a drinker, they'd look great draped over a vase, or a bottle lantern. I have a gorgeous cobalt blue bottle light that I'll be hanging one on that I bet it'll look fantastic with the candle light shining through at holiday dinners.

Kingsmaille Bottle Jewelry

I made them with and without crystals - I like items that can be color coordinated to your decor. The first offering has some chic black sparkles but they'll be available in other combinations, too.

Bottle Jewelry with Glass Crystals

I'm so excited about this line of items - I've been wanting to do more than jewelry for a while now, and I love that I'm getting to branch out a little bit. I'll have more new items soon, but in the mean time you can check these items and more out in my Shop.

Happy Weekend!