Tuesday, June 14, 2011

Tuesday How To - Origami Lucky Stars

Since I made the comment before about how I get so many remarks on the little paper stars on my table , I thought I'd share with you how to make them.


I fully admit my addiction to anything celestial-themed. They're quick and easy if you need "busy work", too.

Step 1 - Pick your paper

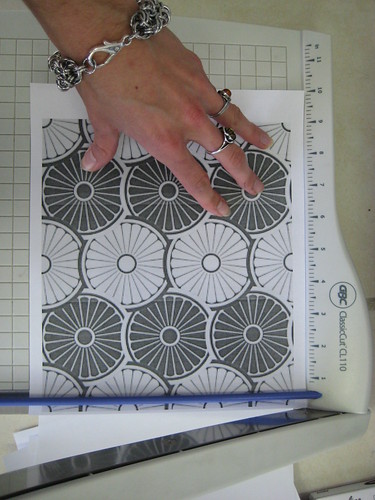
The type of paper you choose is important, depending on how big you are planning to make your stars. For this tutorial, I used "ordinary" printer paper, with a design printed on it - the page is standard 8 1/2 x 11 inches.

Step 2 - Cut your paper


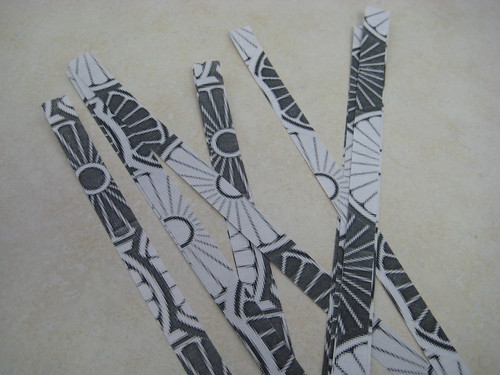
A paper cutter helps with this step since it makes the straightest edges, but you can just use scissors. Take your paper and cut it into 1/2 strips, lengthwise, so the strips will be 11 inches long:


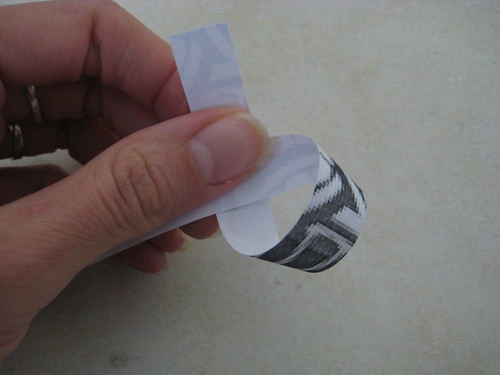
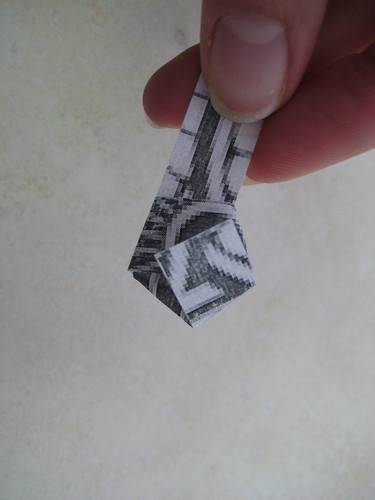
Step 3 - Take one strip and "tie a knot" in it - You have to be gentle with this step so you don't fold it too tight

Fold the paper around:


Pull the "tail" through the loop


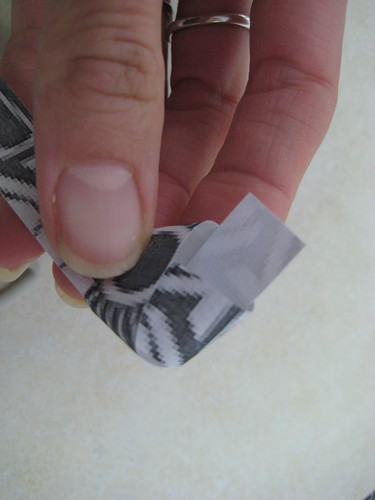
Gently flatten the shape- this creates your "base" shape.

Keep wrapping the "tail" around the pentagon, following the sides, and tuck the tail into a flap. 
Dont wrap the star too tight, since you need a little leeway for the next part.

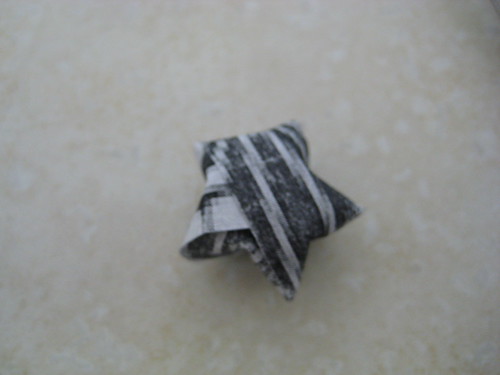
Step 6 - "Dent" the sides in, creating your star - 

All done! 

You can do a lot with these stars - Use them as confetti, string them into garlands, or even make jewelry!
The possibilities are endless!

Now go count your lucky stars :)

Monday, June 13, 2011

Funky Flea Recap and Facebook Fan Milestone

Hey Friends! Did you miss me? I've been a little busy.

Last weekend was the Funky Flea

 I met some great people, and also got a lot of cool new ideas.

It was also a learning experience - Since it was an outdoor market we were at the mercy of the weather. It sprinkled on and off throughout the day, but I think I was one of only 2 or 3 vendors that didn't have a gazebo or tent cover - I went out and bought one right after the show, though. Next time I'll be better prepared!


The last few shows I haven't had any signage other than my business cards, so the night before the show I took some stencils and bronze paint and created some quicky shop signs. A little rough, but at least it helped people know who I was! I'll soon be looking into making a banner for my table, too.

We had a few treats, like pretty cupcakes and cookies from the Wild Flour Baking Co!


There was a lot of entertainment, too - a few bands performed during the show, as well as these guys in orange suits -


Altogether it was a lot of fun! I look forward to doing more shows - I've already gotten applications in for both the "Back To School Indie Garage Sale", as well as the next Salt City Urban Craft Market! fingers crossed that I get in, though it'll be a lot of work. Onward and upward!

Speaking of Upward - over the weekend my Facebook page reached 150 fans! To celebrate, I'm offering my first discount code for the shop - Use code "FB150" at checkout and receive 15% off your order! This is for in stock items and is not applicable to custom pieces. Good this week from 6/13 - 6/17 so act fast!

I'm going to be started on some new pieces soon, as well as working on updating this blog more often! Starting tomorrow with a new Tuesday Tutorial! It'll be something "out of this world" *hint hint*.

Happy Monday!

Wednesday, June 8, 2011

The Process, In Photos

This is just a short pictoral discription of my general jewelry making process-


Thursday, June 2, 2011

SCC At The Funky Flea!

Sorry for the silence lately, I've been getting ready for another show!


Come one, come all, come see me this weekend at 
The Funky Flea Market!