
Since I made the comment before about how I get so many remarks on the little paper stars on my table , I thought I'd share with you how to make them.

I fully admit my addiction to anything celestial-themed. They're quick and easy if you need "busy work", too.
Step 1 - Pick your paper

Step 2 - Cut your paper
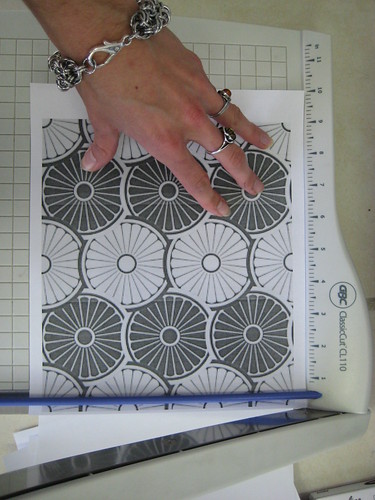
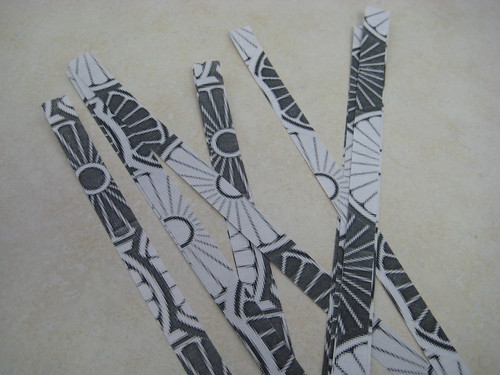
A paper cutter helps with this step since it makes the straightest edges, but you can just use scissors. Take your paper and cut it into 1/2 strips, lengthwise, so the strips will be 11 inches long:
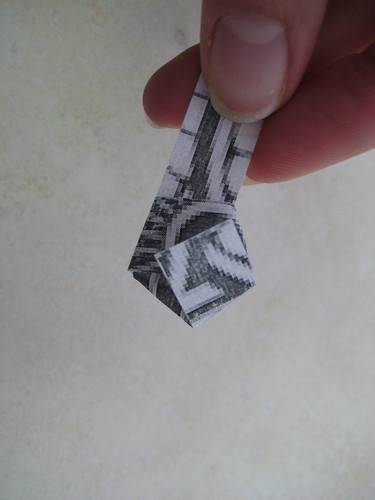
Step 3 - Take one strip and "tie a knot" in it - You have to be gentle with this step so you don't fold it too tight
Fold the paper around:
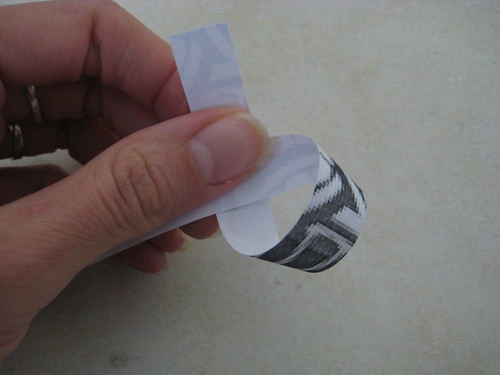
Pull the "tail" through the loop
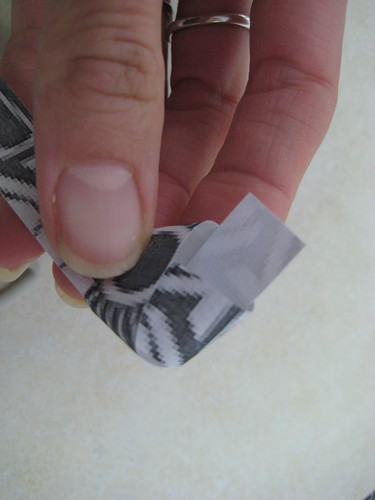
Gently flatten the shape- this creates your "base" shape.
Keep wrapping the "tail" around the pentagon, following the sides, and tuck the tail into a flap.
Dont wrap the star too tight, since you need a little leeway for the next part.
Step 6 - "Dent" the sides in, creating your star -
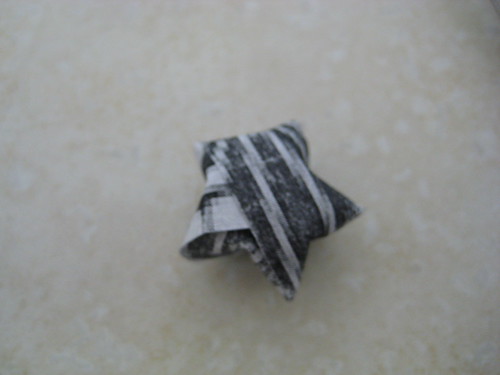
All done!
You can do a lot with these stars - Use them as confetti, string them into garlands, or even make jewelry!
The possibilities are endless!
Now go count your lucky stars :)
No comments:
Post a Comment