
Here's the tutorial I promised to share with you last time - a simple origami gift box!
- I started with a 12 x 12 piece of scrapbook paper, you can start with any size that has equal sides

- Fold it in half both ways

- Then bring the points in to meet the "x" created by the folds

- unfold 2 of the flaps like so:

- Then fold the flat sides to meet in the center:

- Then take the pointed side and fold it to meet the edge like this:

- do that in both directions, on both ends:

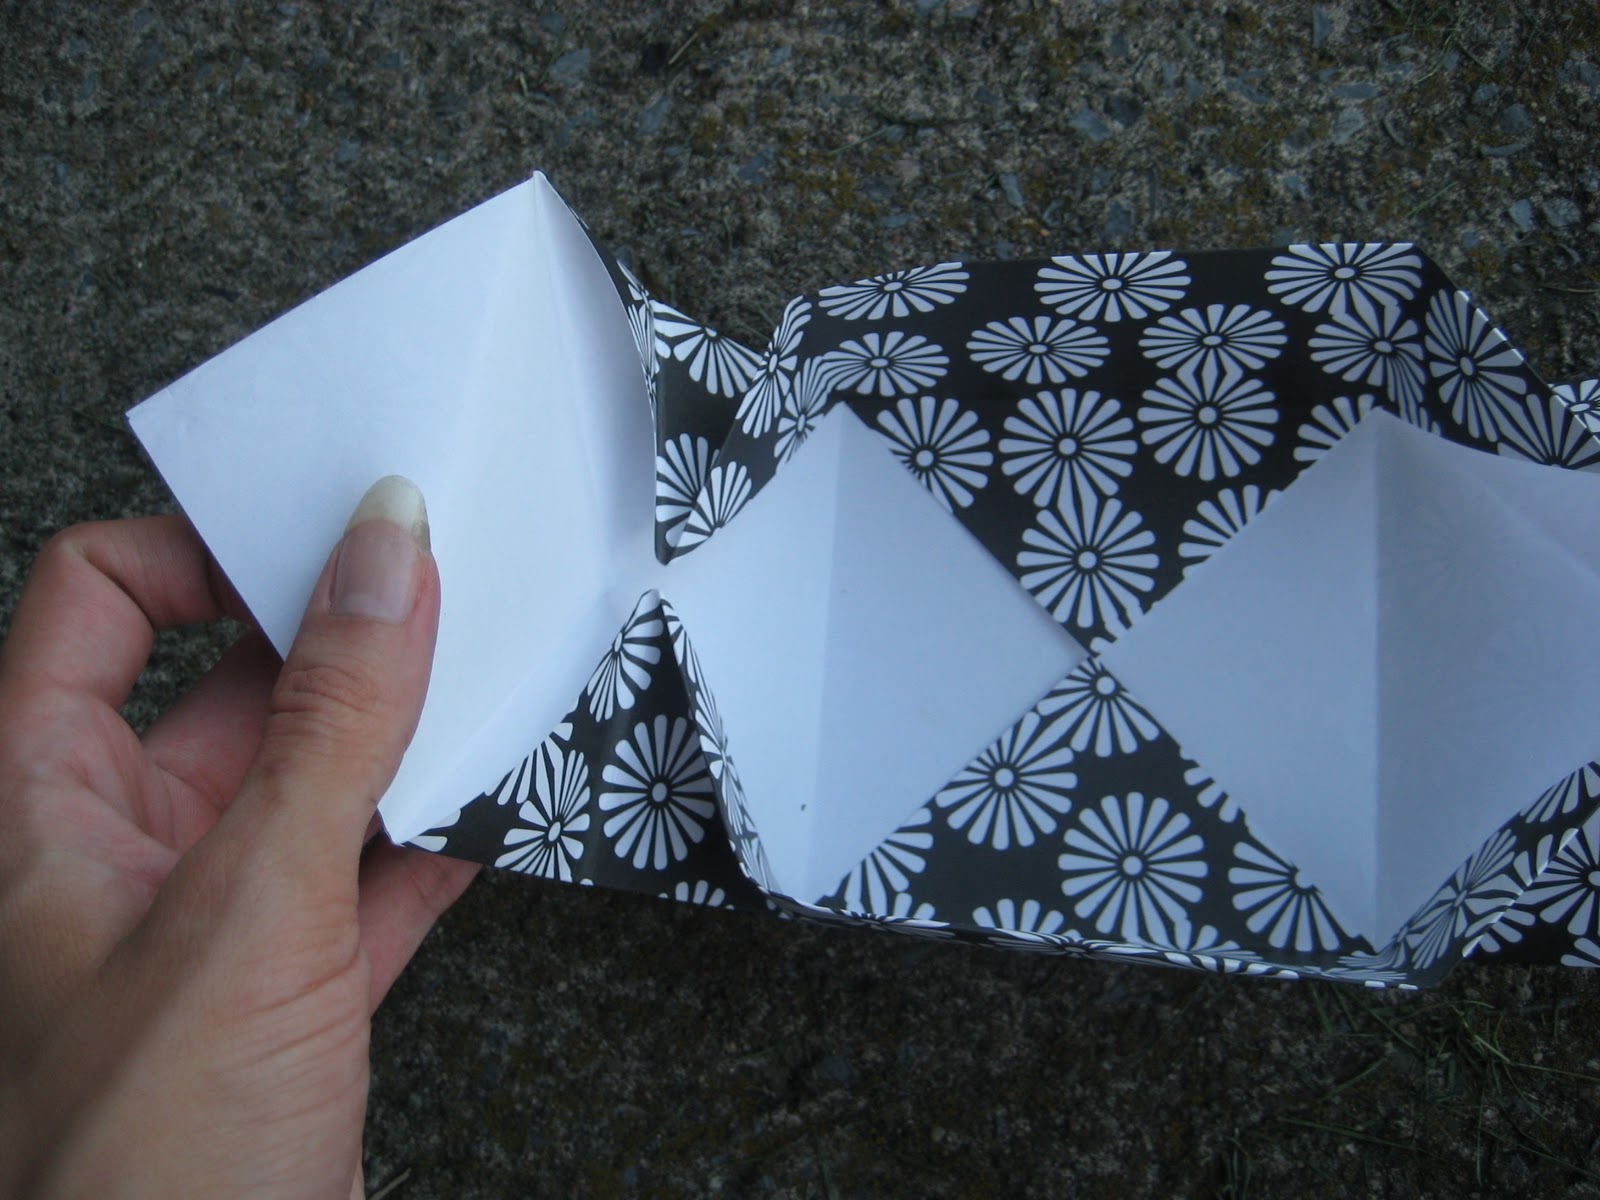
- Open it back up and fold the point down to match the creases you just made on the opposite side:

- do that on both ends, your paper should look like this:

- The creases and folds should pretty much do the work for you from this point -

- fold the sides in to meet
- Then fold the pointed "flap" over the sides to hold everything together-

- Repeat on the opposite side. Ta Da!

To make the bottom of the box, cut your sheet of paper roughly 1/2" smaller than the size you just used.
You can use just about any type of paper for this - scrapbook paper, plain white paper, I've even used paper bags in a pinch! This little box is a great way to add an extra special handmade touch to a gift. I've also taken to using them as the packaging for my jewelry, or when I'm working on chainmaille or beadwork and need an extra container. These also work great just making one half and using it as a catch all on your desk, to hold coins, paper clips, or even candy! The uses are endless. What would you use it for?
Next time around I'll share how to make the flower on top!
**addendum - My origami box was also featured on One Pretty Thing in the Flickr Friends Roundup!**
Thanks so much!
**addendum - My origami box was also featured on One Pretty Thing in the Flickr Friends Roundup!**
Thanks so much!
No comments:
Post a Comment