
Start with a square piece of paper, I used 3" x 3" -

Fold it in half

Then fold the bottom right corner so the right edge meets the top like so:
Repeat with the top right corner - fold so the side meets the bottom edge:

Next fold the left bottom corner to meet the "x" created by the creases

Then fold the point back so the edges meet like so:

Take the bottom right corner and fold the paper so the bottom edge meets the edge you just created:

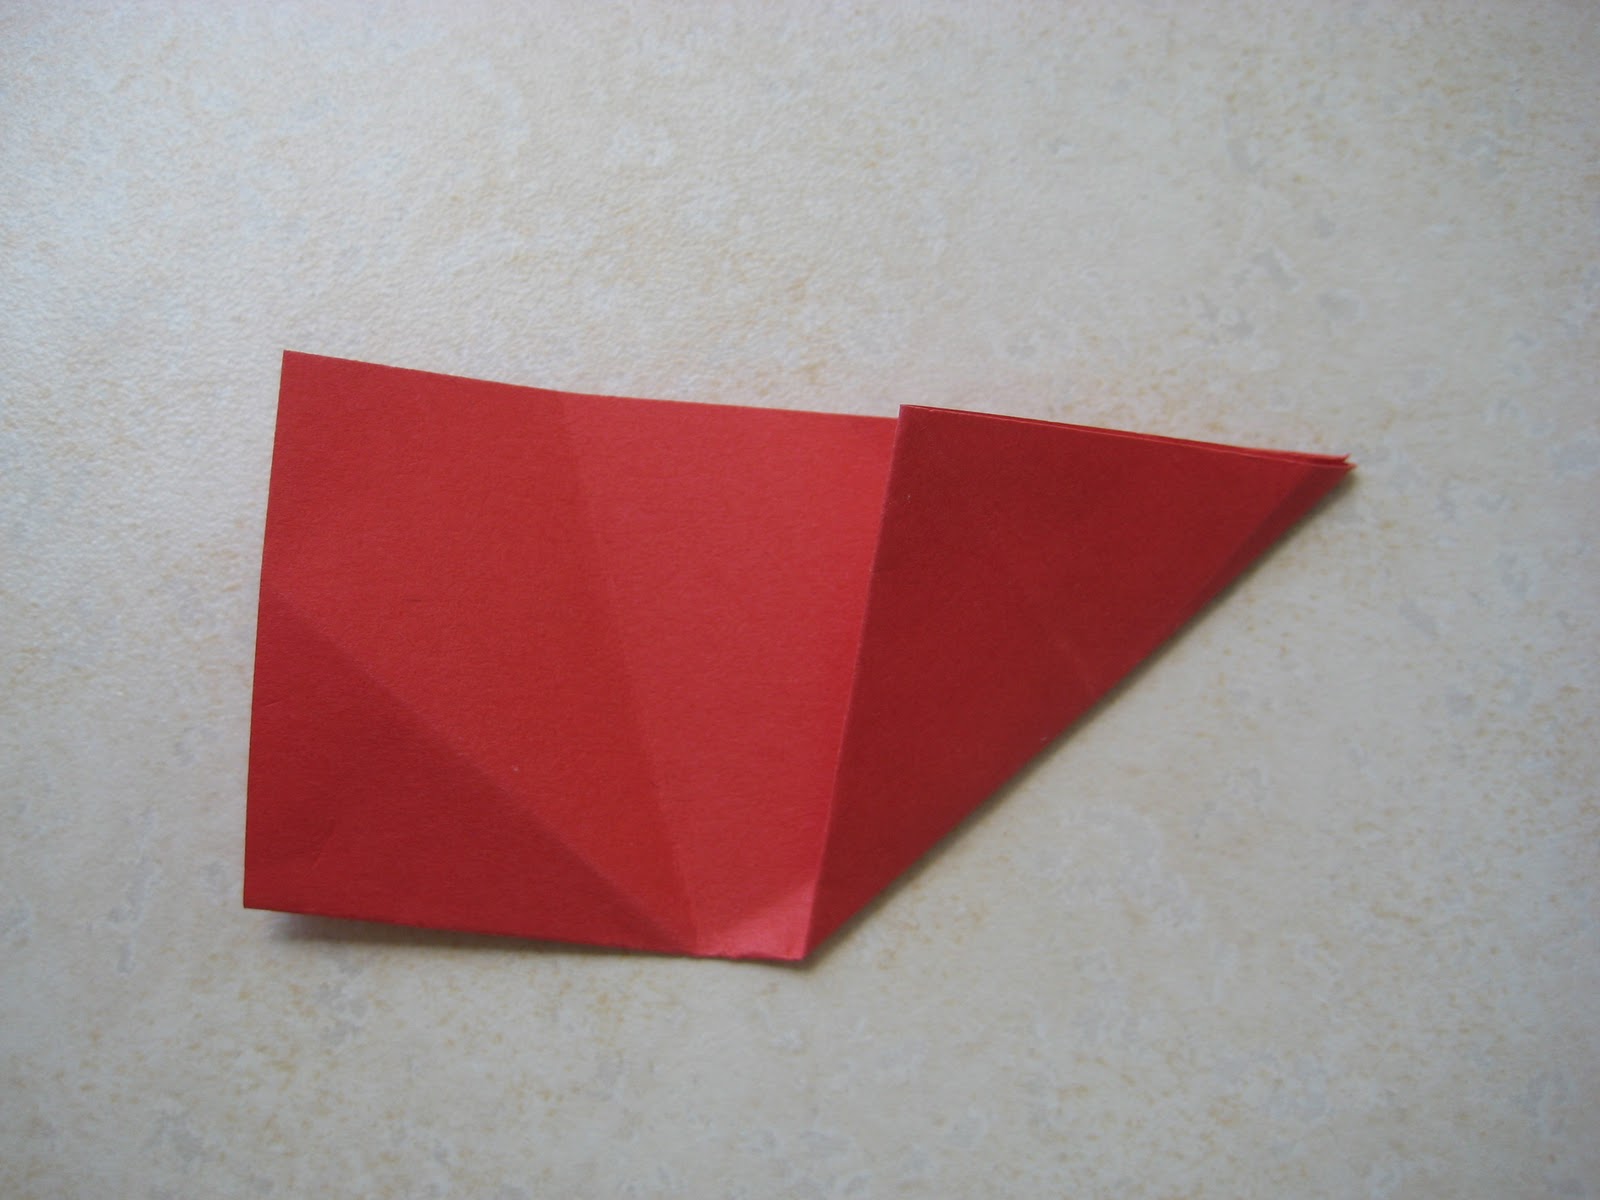
Fold the 2 halves backwards on each other along this line:

So they look like this:

Next, get out your scissor & a pencil - you can mark out the leaf shape or just cut

So you get this:

Clip off the points -

If you open it all up, the flower will look like this:

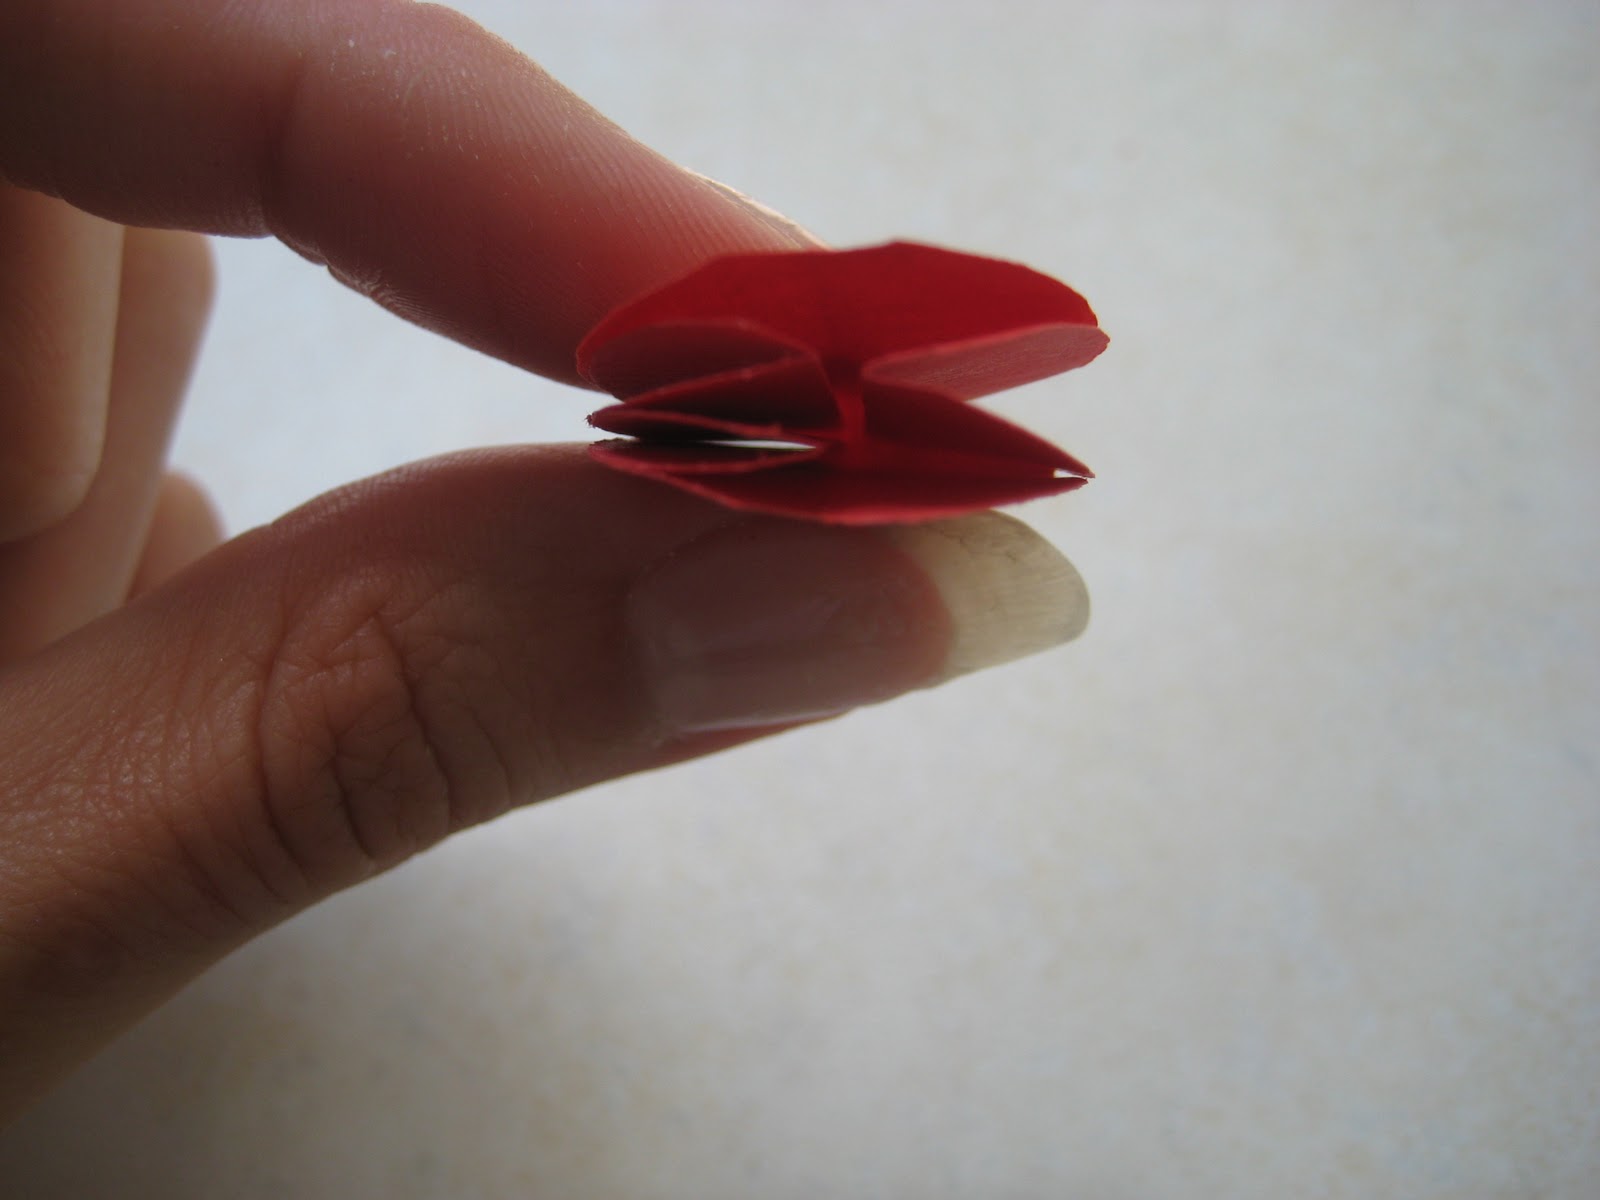
Now fold the petals together until they're "sandwiched" between 2 others -

Like this:
Then fold the bottom edge up

Flip and repeat

Then C-a-r-e-f-u-l-l-y pull the leaves apart and flatten out the flower
Heres the back side:

And heres the front!

Tada!
No comments:
Post a Comment