(source)
Tuesday, September 13, 2011
Giveaway Re-Post
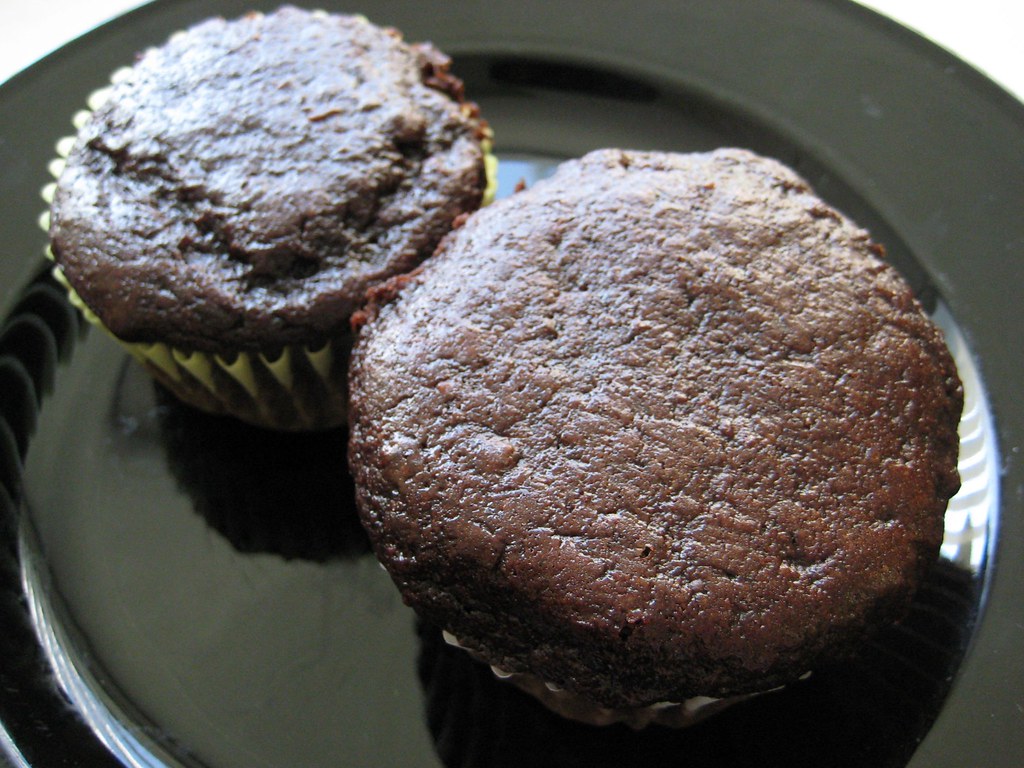
SCC Cooking - Soda Cupcakes
Ok, I'm by no means a chef or food stylist, but I had to share this recipe with you - it's just too good to keep to myself.
If you know me personally you will probably find my love for these a little shocking since I dont normally like chocolate, or boxed mix, but these are awesome because they are:
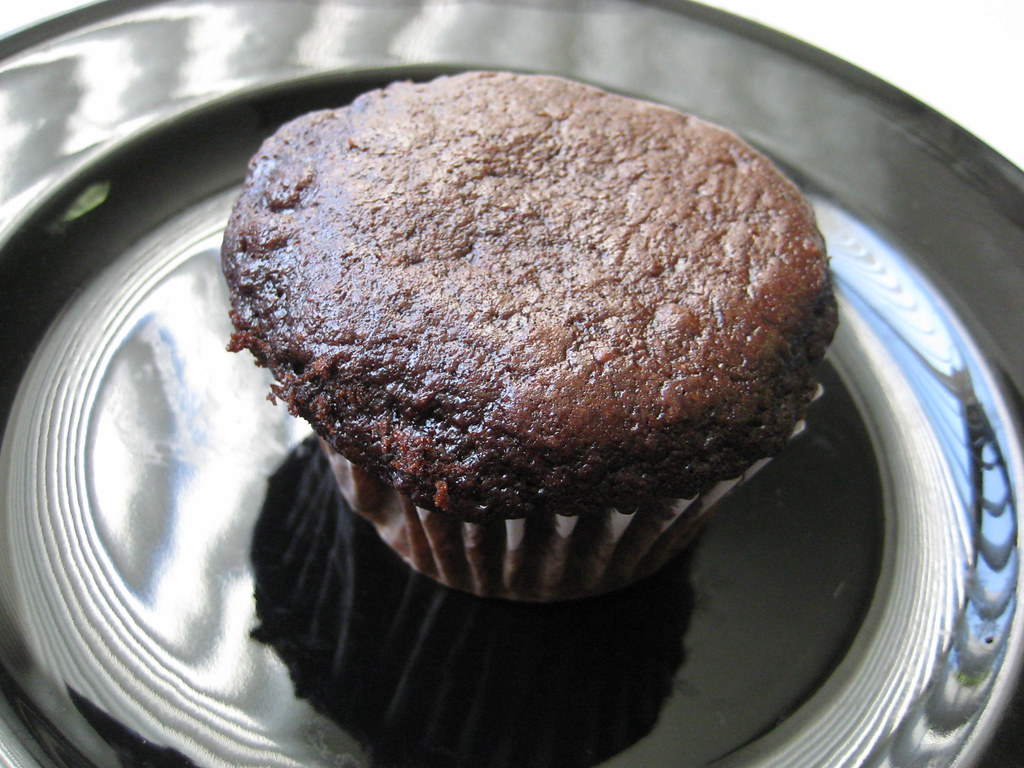
- Not Dense and,
- Not Dry
These cupcakes are so, so good. I was originally thinking of putting some Nutella frosting on them (because Nutella is the noms), but honestly? These dont need frosting - They are that good.
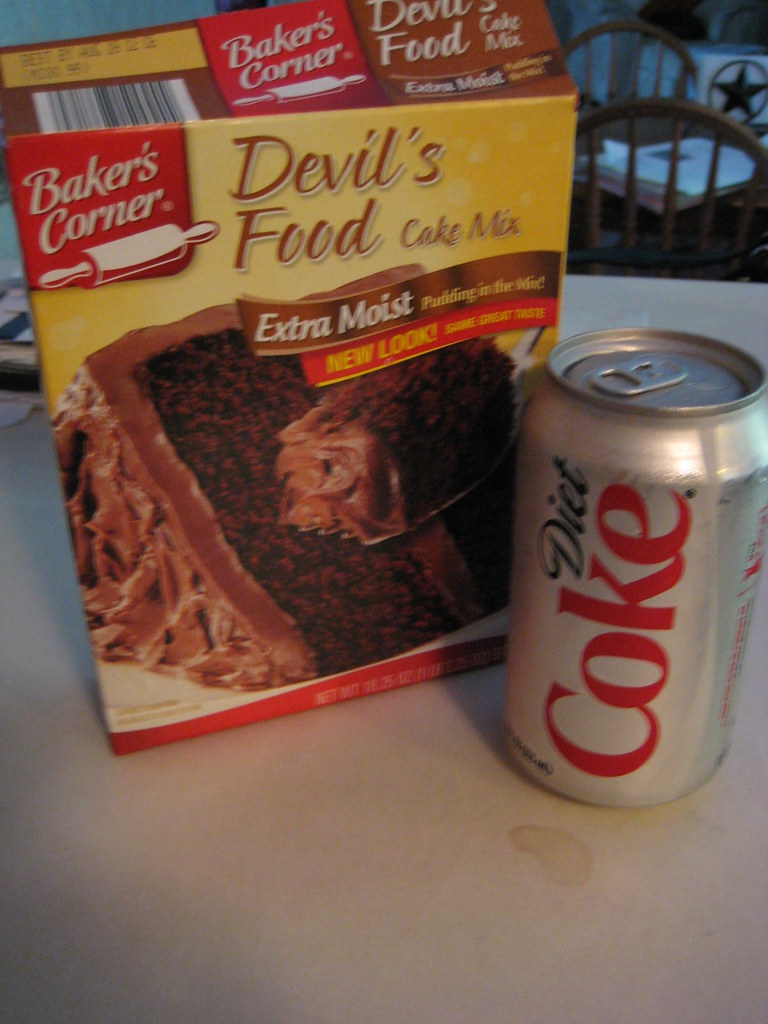
Guess whats in it?
(I'm not a perfect photographer either.....)
Only 2 ingredients!
This mix made 18 cupcakes/muffins, but you could easily stretch it to 2 dozen.
Whisk together the soda and cake mix, then drop into lined muffin pants and bake in a 350 degree pre-heated oven for 18-2- minutes. You may have to adjust the time depending on your oven - mine runs hot, so yours may take a little longer. Check them at about 18 minutes - if they look "done", test one or two by sticking a toothpick in the center, and if it comes out clean, you're good to go.
I have to be honest, I didn't come up with this idea - Specifically I got the recipe from Hungry Girl, who has a lot of recipes for cakes that use only two ingredients. I'd heard of using canned pumpkin, but not soda so I knew I had to try it out! I'm so glad I did - with all the different versions and flavor combinations, I may never go back to "traditional" cakes. These taste to much better! My boyfriend and I each had one for dessert last night, and I brought in a few for my (male) coworkers today - it's funny how all these guys usually say they aren't much for sweets, but they all loved them! I bet you will, too.
Wednesday, August 31, 2011
Help Me Choose An Icon!
I've been playing around wtith Piknik and my photos, whipping up some link icons.
Which Do You Think Is Better:
or
Vote!
Wednesday, August 24, 2011
Back To School IGS Recap
After a long busy weekend and taking some time out to celebrate my birthday (it was yesterday - comes too fast every year!), I thought it was time to share my Indie Garage Sale experience with all of you.
I got up early on saturday morning since I couldn't make it to get my table set up the night before. I had a pretty good idea of how I wanted it since I've had the table up in my living room for about a week (which also meant I had to break it down the night before and pack everything in the car - I should've thought that one out a little better!)
The weather was glorious, traffic wasn't bad and I quickly found the arena even though I've never been there before. I arrived a good 2 hours early or so, and there were already a few early birds in spite of not many vendors being there and the sale didn't start til 11
I managed pretty well the first day on my own, as far as carrying everything in from my car and putting everything in place.
Day 1 Setup
In the background here you can see other vendors setting up - I met a lot of great people over the weekend!
Pendants Galore:
Bright and shiny bracelets:
Colorful pieces:
Just in the nick of time this week I received my hand displays to put rings on
Hiiiii You guys!
I like my shadowboxes for showing off the darker colored pieces - Black doesn't stand out very well against black, but grey is a-ok!
Earring Bling
This little tree is really a Halloween decoration -
I got it at Michaels and thought it would be a great addition.
Unfortunately, I wish I could say my sales were better - I didn't even make my booth fee back on this show!
I think the IGS was in competition with too many other events this weekend - The Herkimer County Fair was going on, plus the Bouckville Antique show. Hopefully the holiday event will go better (and yes I'm definitely signing up!), and in the mean time the show was a good learning experience.
Day 2
On Day 2 my brother made it out to keep me company and helped with tear down and carrying everything to the car. Thanks so much little Brudder!
I re-arranged the bracelets into color order - isn't it so pretty?
While I wish the booth did better, I'm happy to say I had a fun time and it was so nice to meet some other local vendors! I think I did a pretty fair job networking at this show, and I've been checking out some more local fairs and shows to set up at too.
I'm looking forward to seeing all my new crafty friends (and you!) very soon.
Monday, August 15, 2011
Practice Practice Practice
I've been a busy B here in the salt mines, working my fingers to the bone making new jewelry as well as new callouses on my hands. With the Indie Garage Sale only a little over 4 days away (eep!), I've been working on my display table. While I've been lax in getting a banner made for my shop, I've been working on other aspects of my presentation. I have a few things ordered that will hopefully arrive just in time, but yesterday I thought I'd get started on a "trial run", which helps me see just what sort of pieces I have and what might need to be fixed or have extra work done to it.
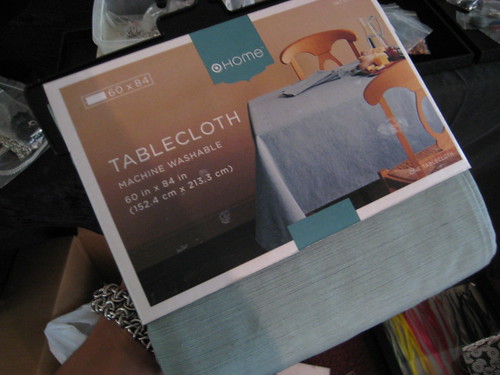
That cover is what I've been using - Its just a plain old bed sheet! While it did serve a purpose, it didn't quite have that "finished" look. The ends of my table are still open, the color is faded, and it looks sort of tired. So I went to Target the other day and invested in an honest to goodness tablecloth - still black, but it'll give a much cleaner look.
I also got a second tablecloth to go on top
It's one of my "brand" colors
I've got a couple new display units coming, plus new pieces to show off - a real "body" of work if you will. If you're in the area, or you like to take a weekend drive, I hope you'll come out and see me at the Back to School Indie Garage Sale, this weekend. Saturday hours 11-6 and Sunday 11-4. Even if you dont buy anything you can just stop by and wish me an early Happy Birthday ;).
Friday, August 5, 2011
SCC At the Back To School Indie Garage Sale
Only two (very short) weeks away!
Hope to see some of you local friends (and meet new ones) at the -

You can see a list of the other vendors here
(I just realized my banner is at the top of the list, woohoo!)
Feel free to print out the flier below to bring in for a raffle at the event!

I <315, support local handmade!
Tuesday, June 14, 2011
Tuesday How To - Origami Lucky Stars
Since I made the comment before about how I get so many remarks on the little paper stars on my table , I thought I'd share with you how to make them.
I fully admit my addiction to anything celestial-themed. They're quick and easy if you need "busy work", too.
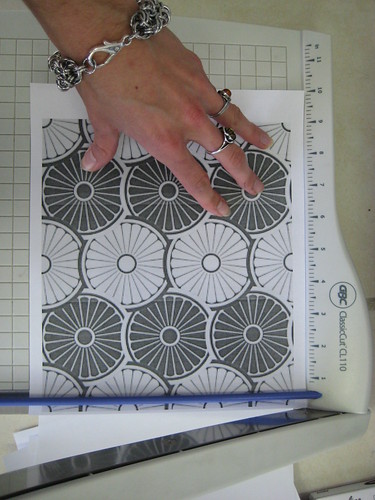
Step 1 - Pick your paper
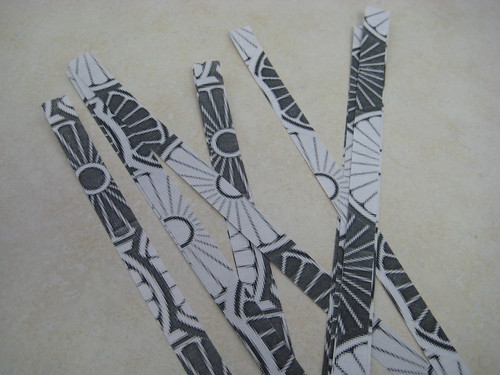
Step 2 - Cut your paper
A paper cutter helps with this step since it makes the straightest edges, but you can just use scissors. Take your paper and cut it into 1/2 strips, lengthwise, so the strips will be 11 inches long:
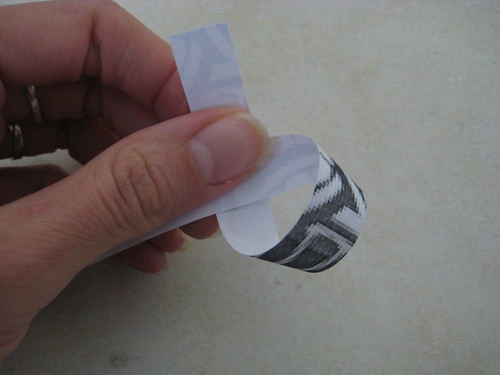
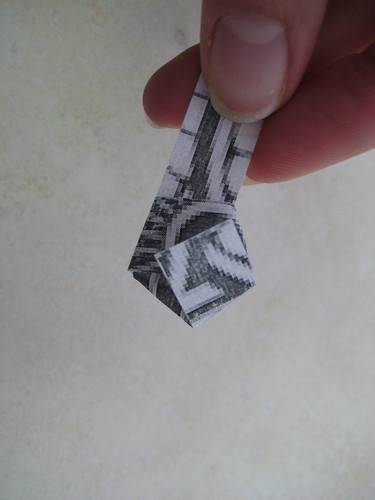
Step 3 - Take one strip and "tie a knot" in it - You have to be gentle with this step so you don't fold it too tight
Fold the paper around:
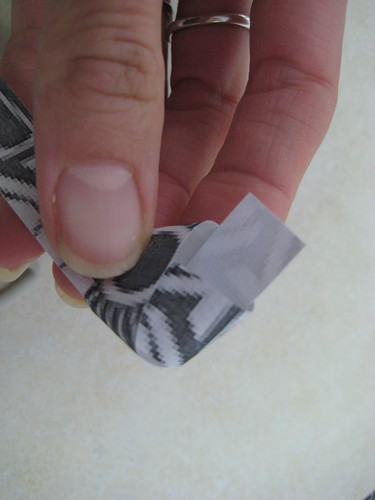
Pull the "tail" through the loop
Gently flatten the shape- this creates your "base" shape.
Keep wrapping the "tail" around the pentagon, following the sides, and tuck the tail into a flap.
Dont wrap the star too tight, since you need a little leeway for the next part.
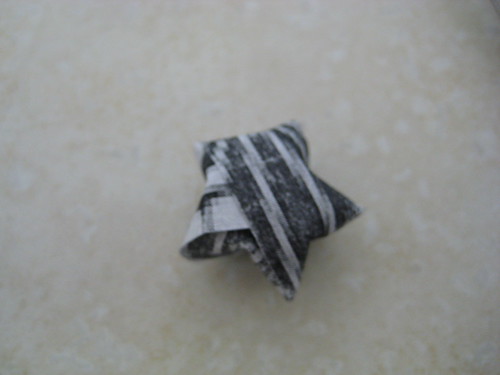
Step 6 - "Dent" the sides in, creating your star -
All done!
You can do a lot with these stars - Use them as confetti, string them into garlands, or even make jewelry!
The possibilities are endless!
Now go count your lucky stars :)
Subscribe to:
Posts (Atom)