Thursday, January 19, 2012

Bronze Beauty

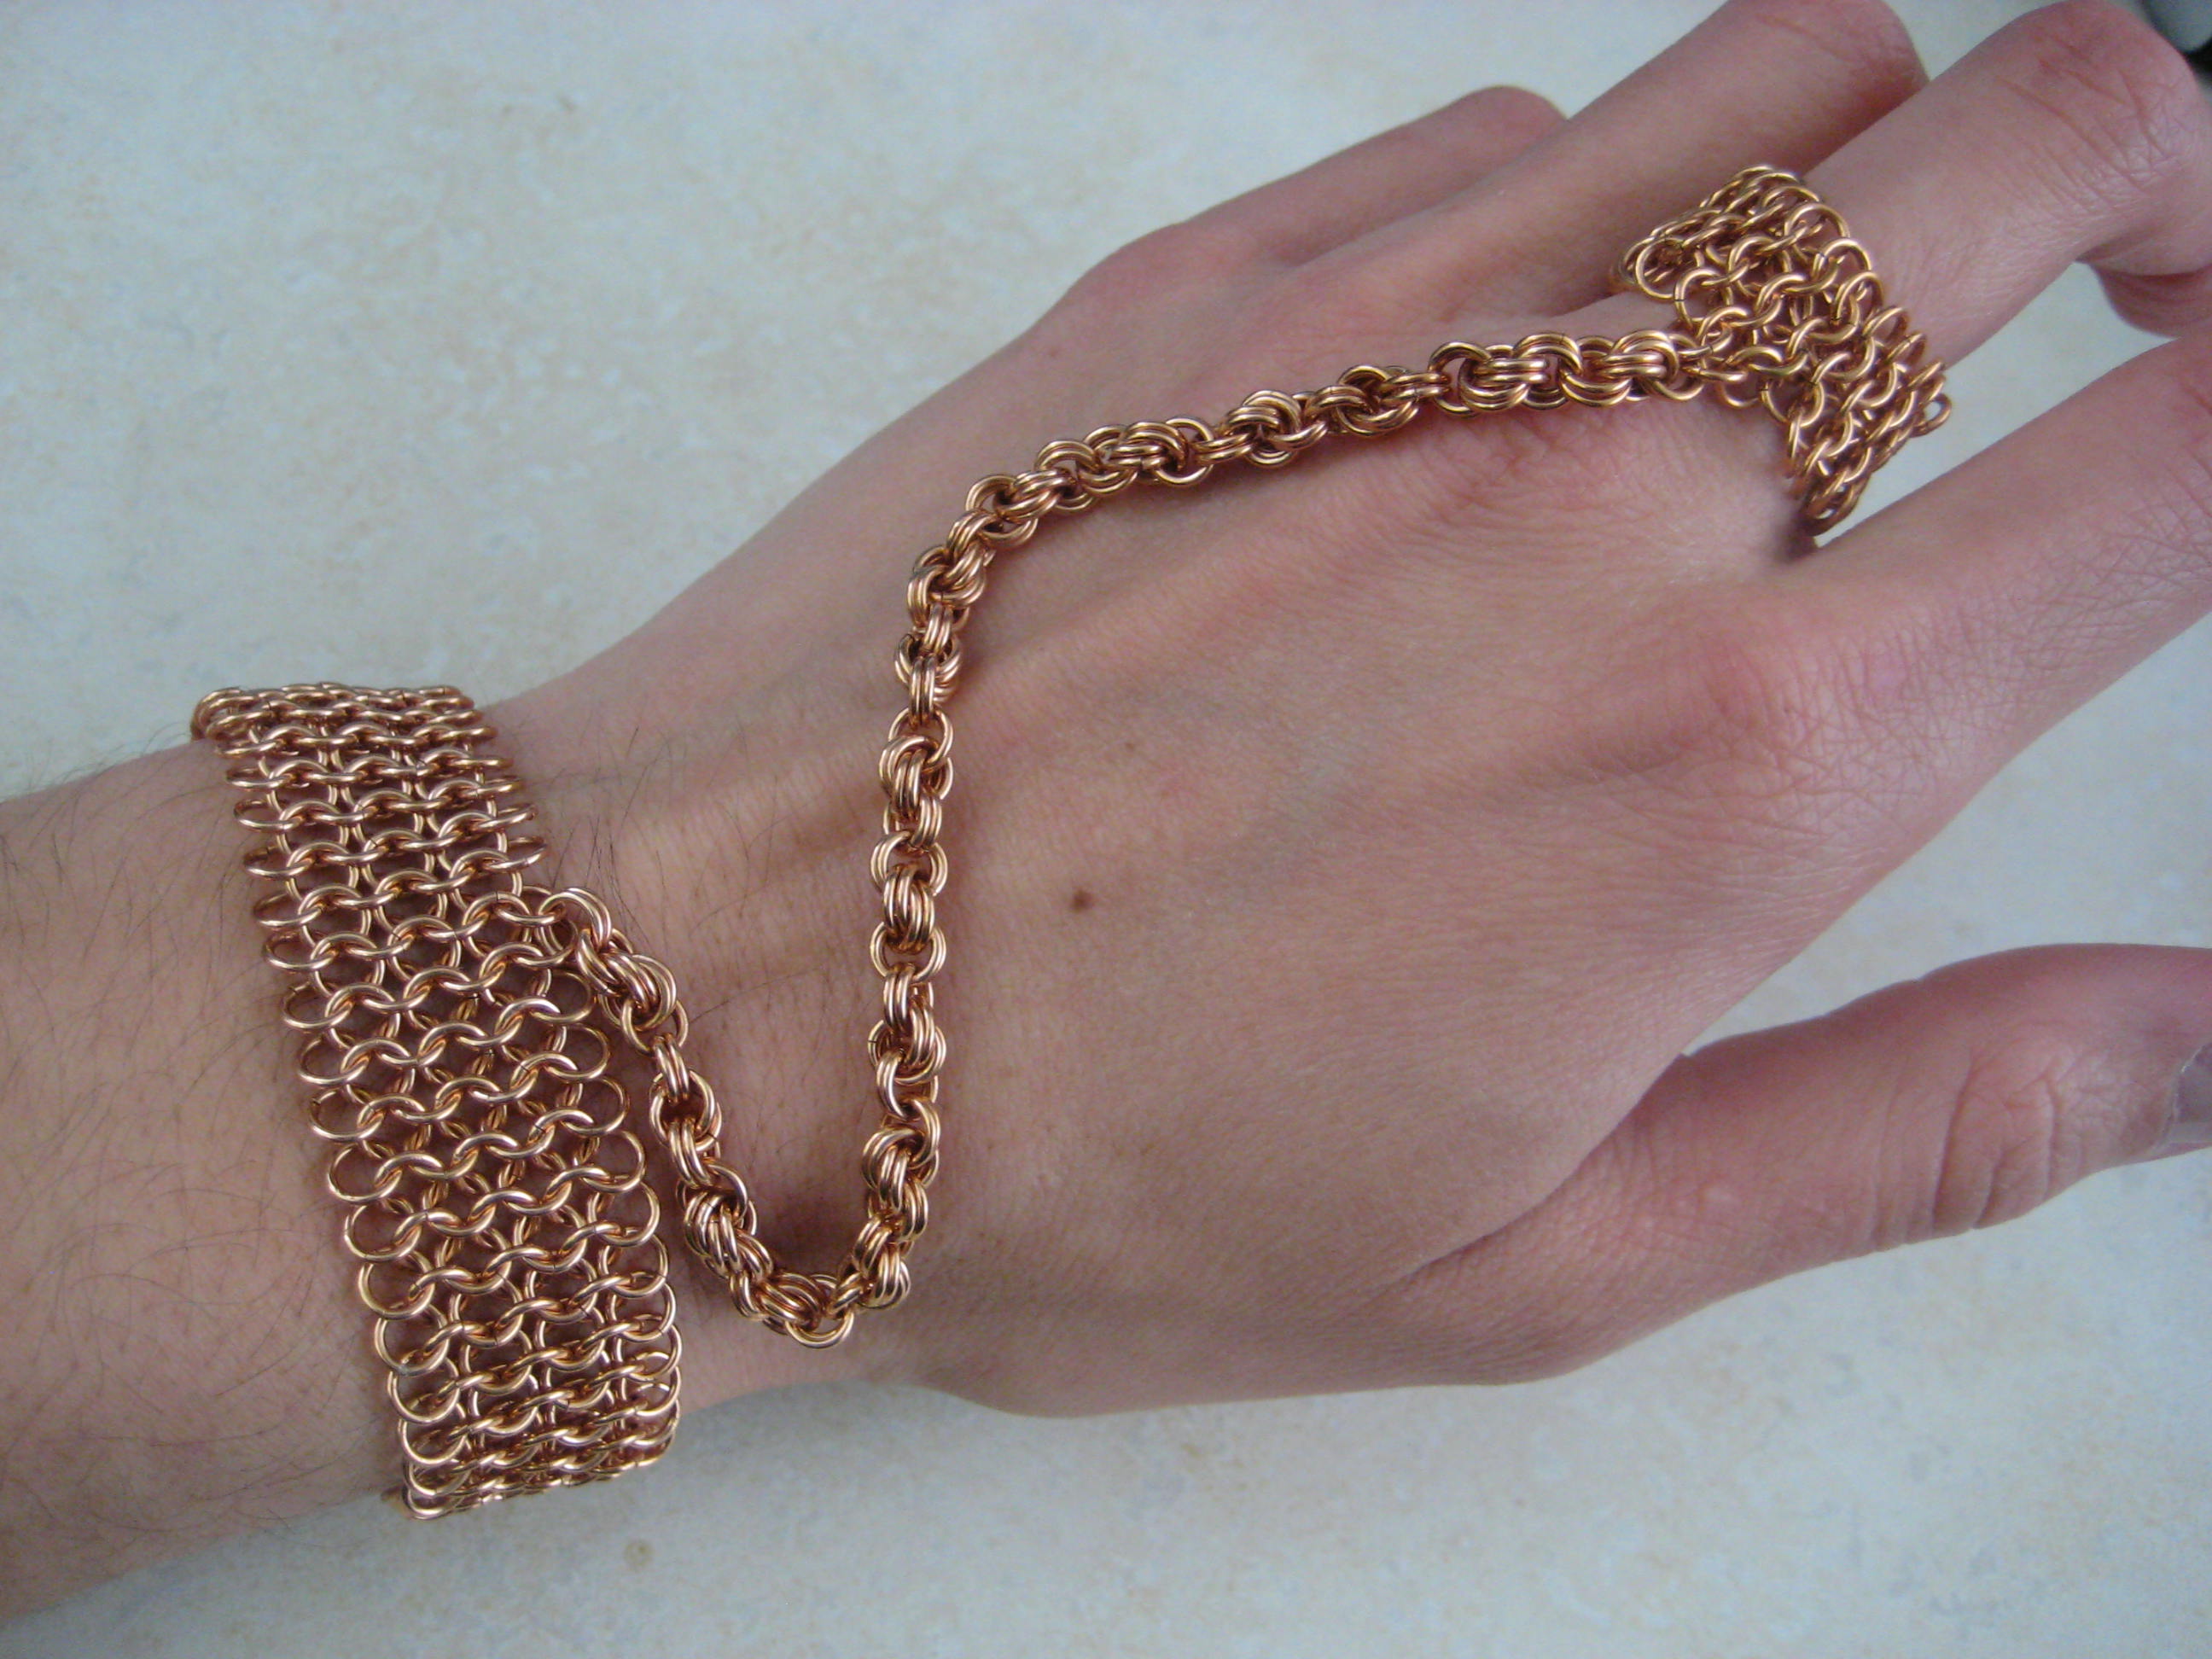
I recently completed another custom piece and sent it off to its new home. It seems as though this year is starting out as the year of the handflower since I've already received a few more requests for one -


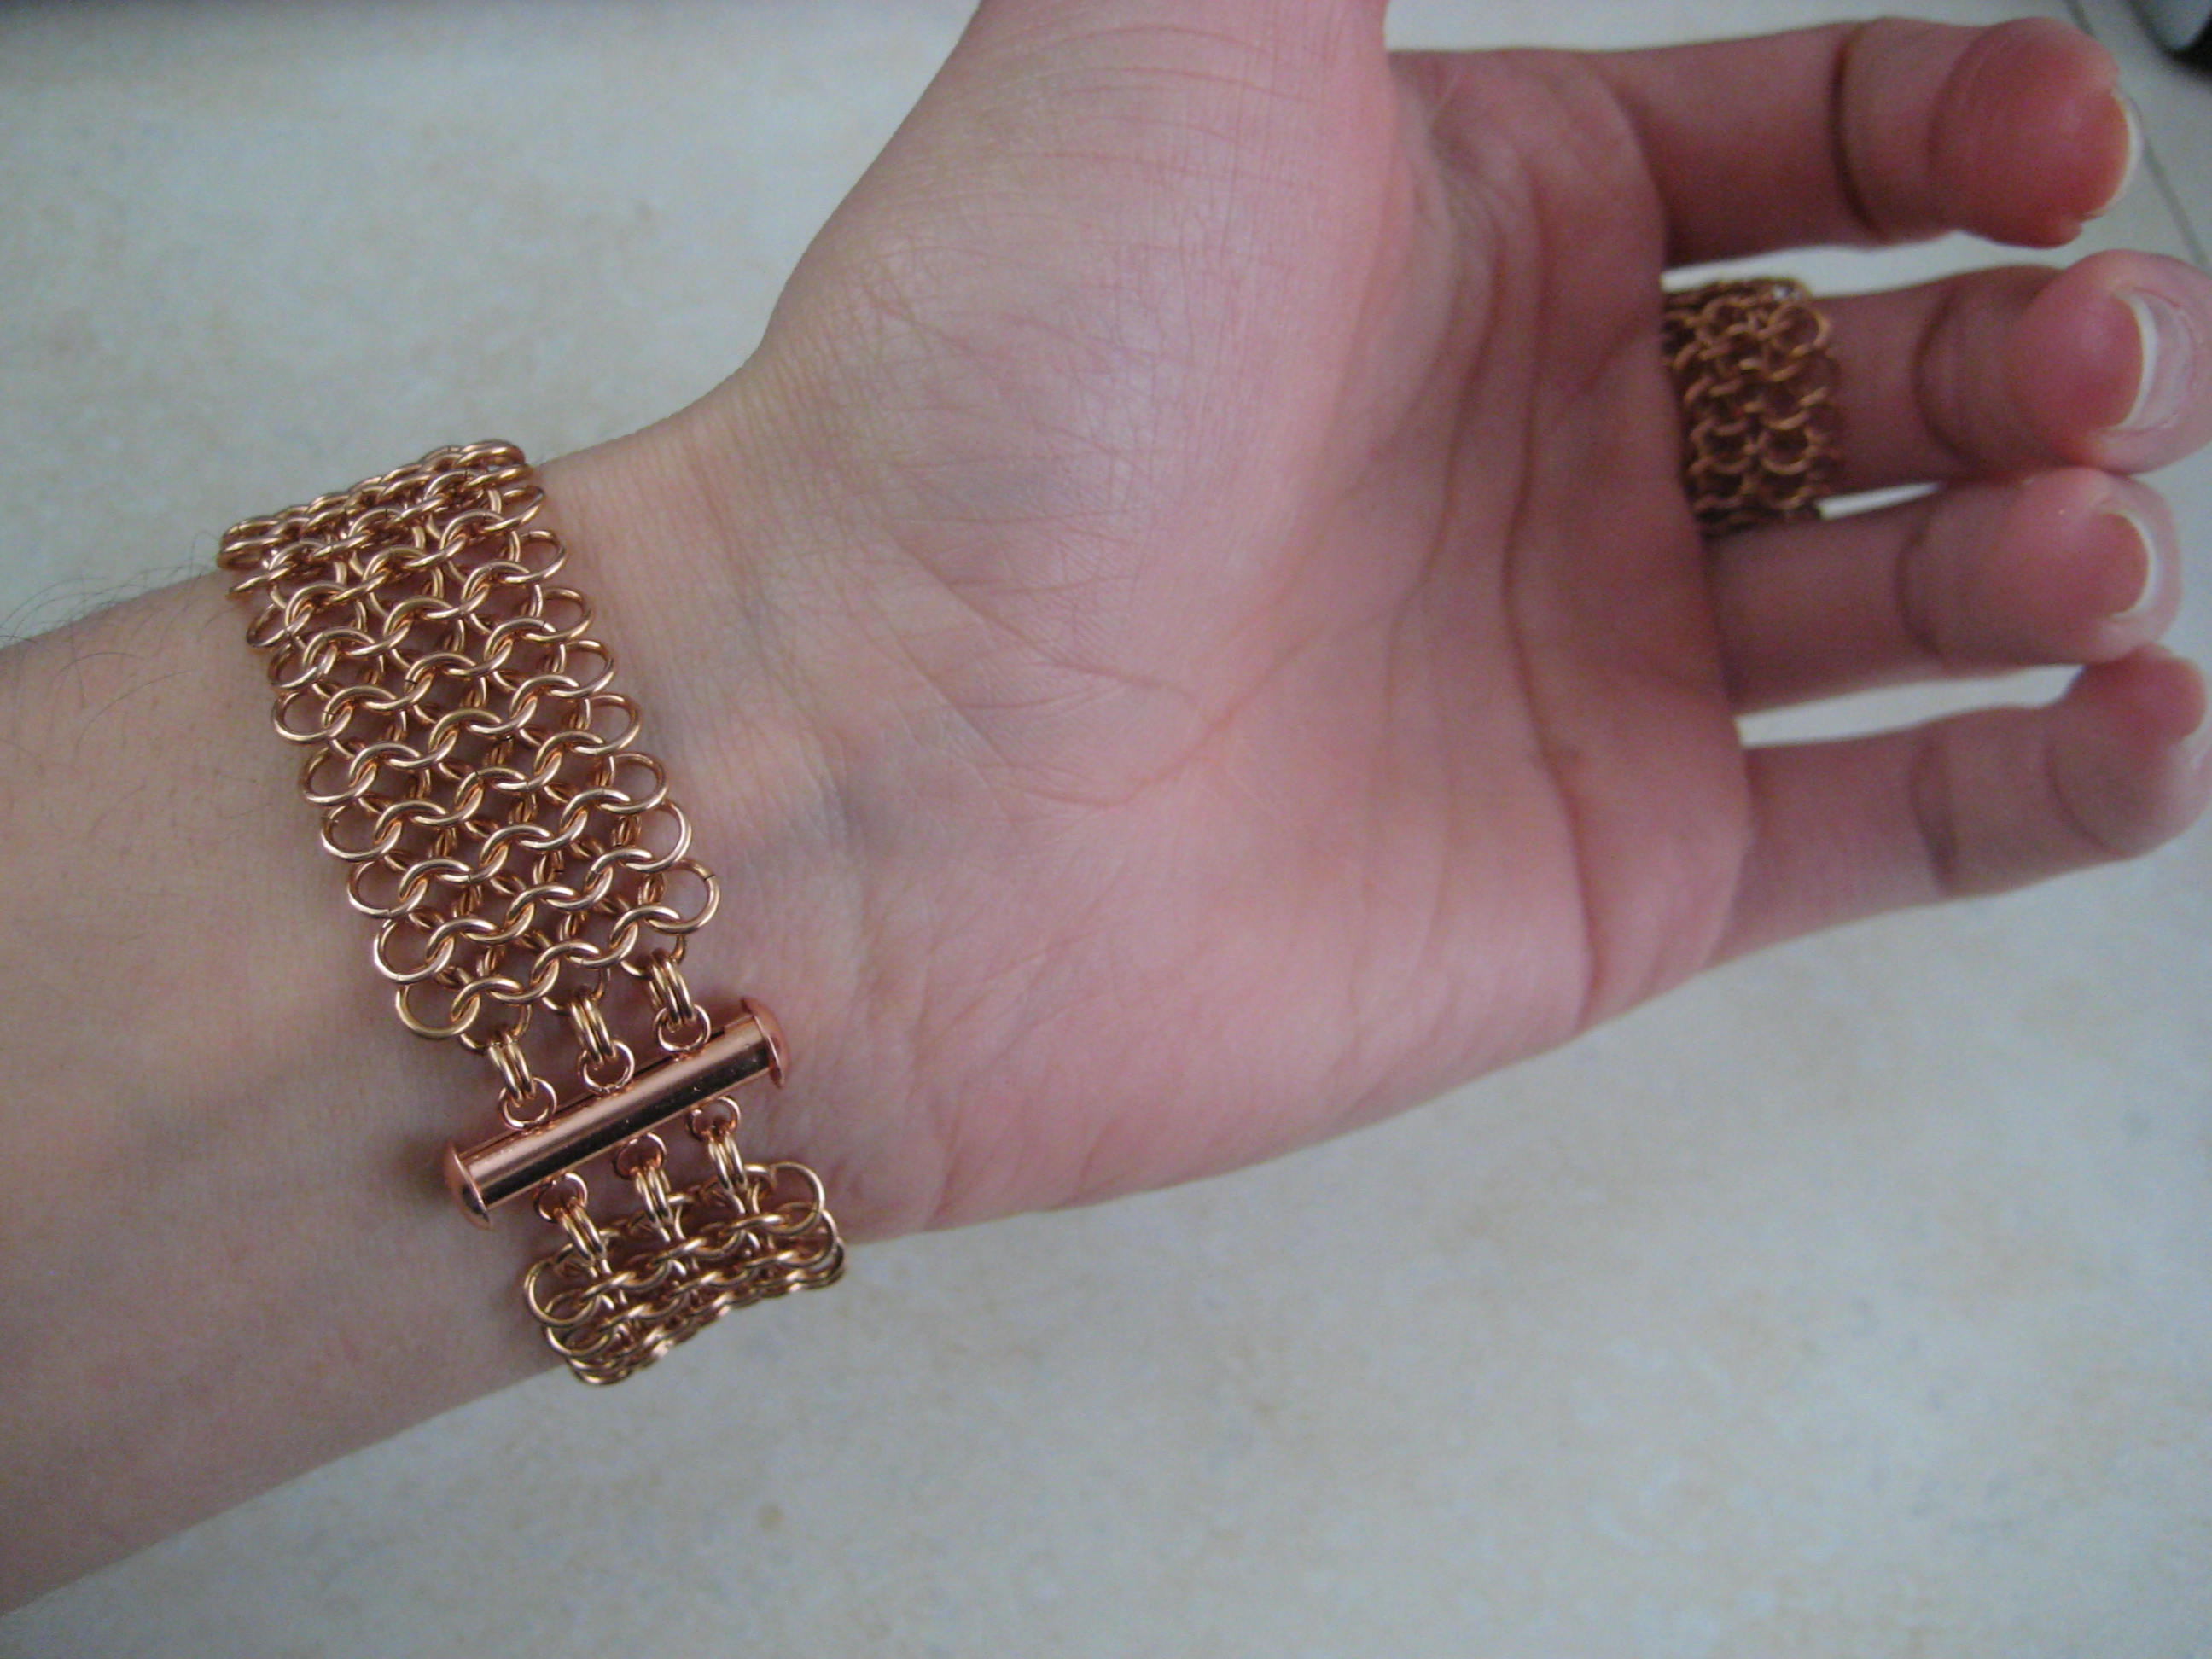
and the backside -

A handflower was the first piece of chainmaille I ever got. My boyfriend at the time bought it for me on a visit to the Renaissance Festival one summer almost ten years ago, and I still wear it to this day. They're very elegant pieces of jewelry. This last one I made was a custom order since I usually offer it in a silver metal, but this customer requested bronze. I'm not sure why I didn't think of making a piece like this in Bronze before, but I'm so happy I got to make this one. I see more Bronze and Copper pieces on the horizon. Stay tuned.

Saturday, January 14, 2012

Project Byproducts

On occasion when I'm making a custom order and end up with a surplus of rings, I'll save them in hopes of using them (and sometimes never do..) or just scrap them out and put them in my big "Miscellaneous Jar Of Rings" (hey it looks pretty when the light shines through it). Once in a while I get just enough, or am inspired enough, to create something lovely with them.

I recently completed an order for a set of 8 Knot Wine Charms. They turned out fantastic, I think - I love the color choices my customer picked:


While I was making them, I had enough extra rings to probably make another 2 or 3 sets..but this pattern happens to be my favorite (It's called Persephone, created by Corvus Chainmaille), and I love linking the tiny knots into chains, so I thought I'd see what a pseudo-rainbow colored necklace would look like. Here's how it looks so far -


Quite the delicate little dish, don't you think? I still need to finish up the back side of the chain and clasp, but it will just be something simple. To be clear, the colored rings are the ones I had to cut myself. The silver colored rings I get from one of my awesome suppliers, and theyre made of whats called Bright Aluminum. It's my favorite material to work with, because it has all the shine and sparkle of silver, but without the high price -and- the BA doesn't tarnish. All plusses in my book.

It's a snowy day here in Central New York, but I have to brave the cold to ship orders and then come home and work on some more shiny new things. I can't wait to share more with you soon!

Thursday, January 5, 2012

Fresh Stuff

Welcome to a new year! I hope everyone celebrated in their own satisfactory way. I ushered in 2012 with a quiet night at home with loved ones and I would not have it any other way. I've been trying to get back into the swing of things, and been lucky enough to start off the month with some custom orders.

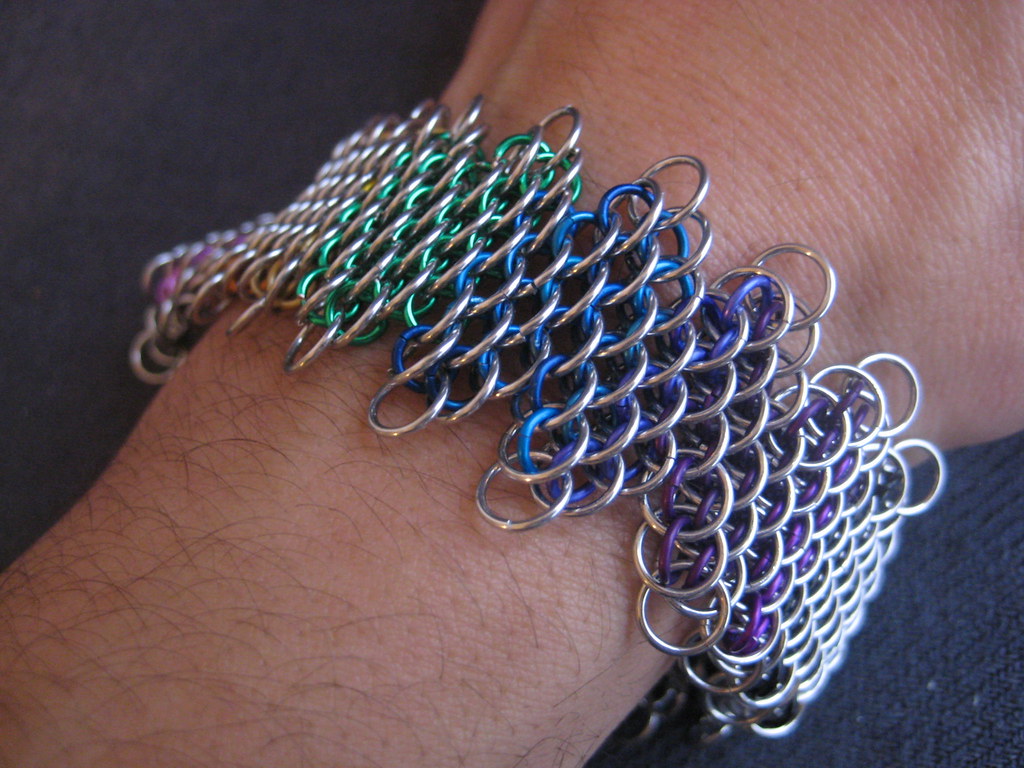
One of my favorite recently completed commissions is this rainbow cuff that a friend ordered at the house party she held -


The colors vary through the whole spectrum - red, orange, yellow, green, turquoise, blue, purple and black. The ends are all bright aluminum.


This piece was a nice challenge for me - I used whats called a "Dragonscale" pattern (it's sometimes also called Mermaid Mesh) which is a little tricky to begin with, but I also altered the it into a sort of fringed, zig-zag wave too. This is my favorite weave and though to be honest I had to put it down a few times because it was making my eyes buggy, I just loved working on it.

I've got plenty of new ideas for SCC this year. I'm hoping to get a few bigger shows in, including one or two outside of NY state. Also in the works are some new designs and one of a kind items, plus some larger scale  projects I've been meaning to get to for a while (chainmaille belts, anyone?).

Keep your eyes pealed, as I'll be updating the Shop and the blog here with lots of shiny. I can also be contacted by email for any custom requests.

Happy New Year!

Tuesday, December 20, 2011

Tuesday How To - Now Let Me See Your Pumpkin Rolllll

Forgive my throwback title, I couldnt resist.

Does your family have a traditional holiday dessert? Every year I try to make one of my favorite seasonal baked goods - a pumpkin roll. If you ever use Libby's brand pumpkin puree, there is a photo of one on the can and a note to visit their website for the recipe. I've sent the recipe to people for swaps, too, so I thought that it would maybe help to document the process in case some people dont know what I'm talking about. I'm a visual learner myself, so pictures always help me when I'm trying something new.

To start, here's the recipe:

Pumpkin Roll

Cake:
3/4 C. Flour
1 Tsp Salt
3 Large Eggs
1 C. Sugar
2/3 C. Canned (cooked) Pumpkin/ pumpkin puree

Filling:
8 oz cream cheese
1 C. sifted confectioners sugar
2 TBS butter (softend)
1 Tsp vanilla

Start by preheating your oven to 350 degrees (F).

Then you butter and flour (well) a jelly roll pan. If you're not familiar with what a jelly roll pan is, it's about 12 x 17 and 1 inch deep. Essentially a baking sheet with sides.

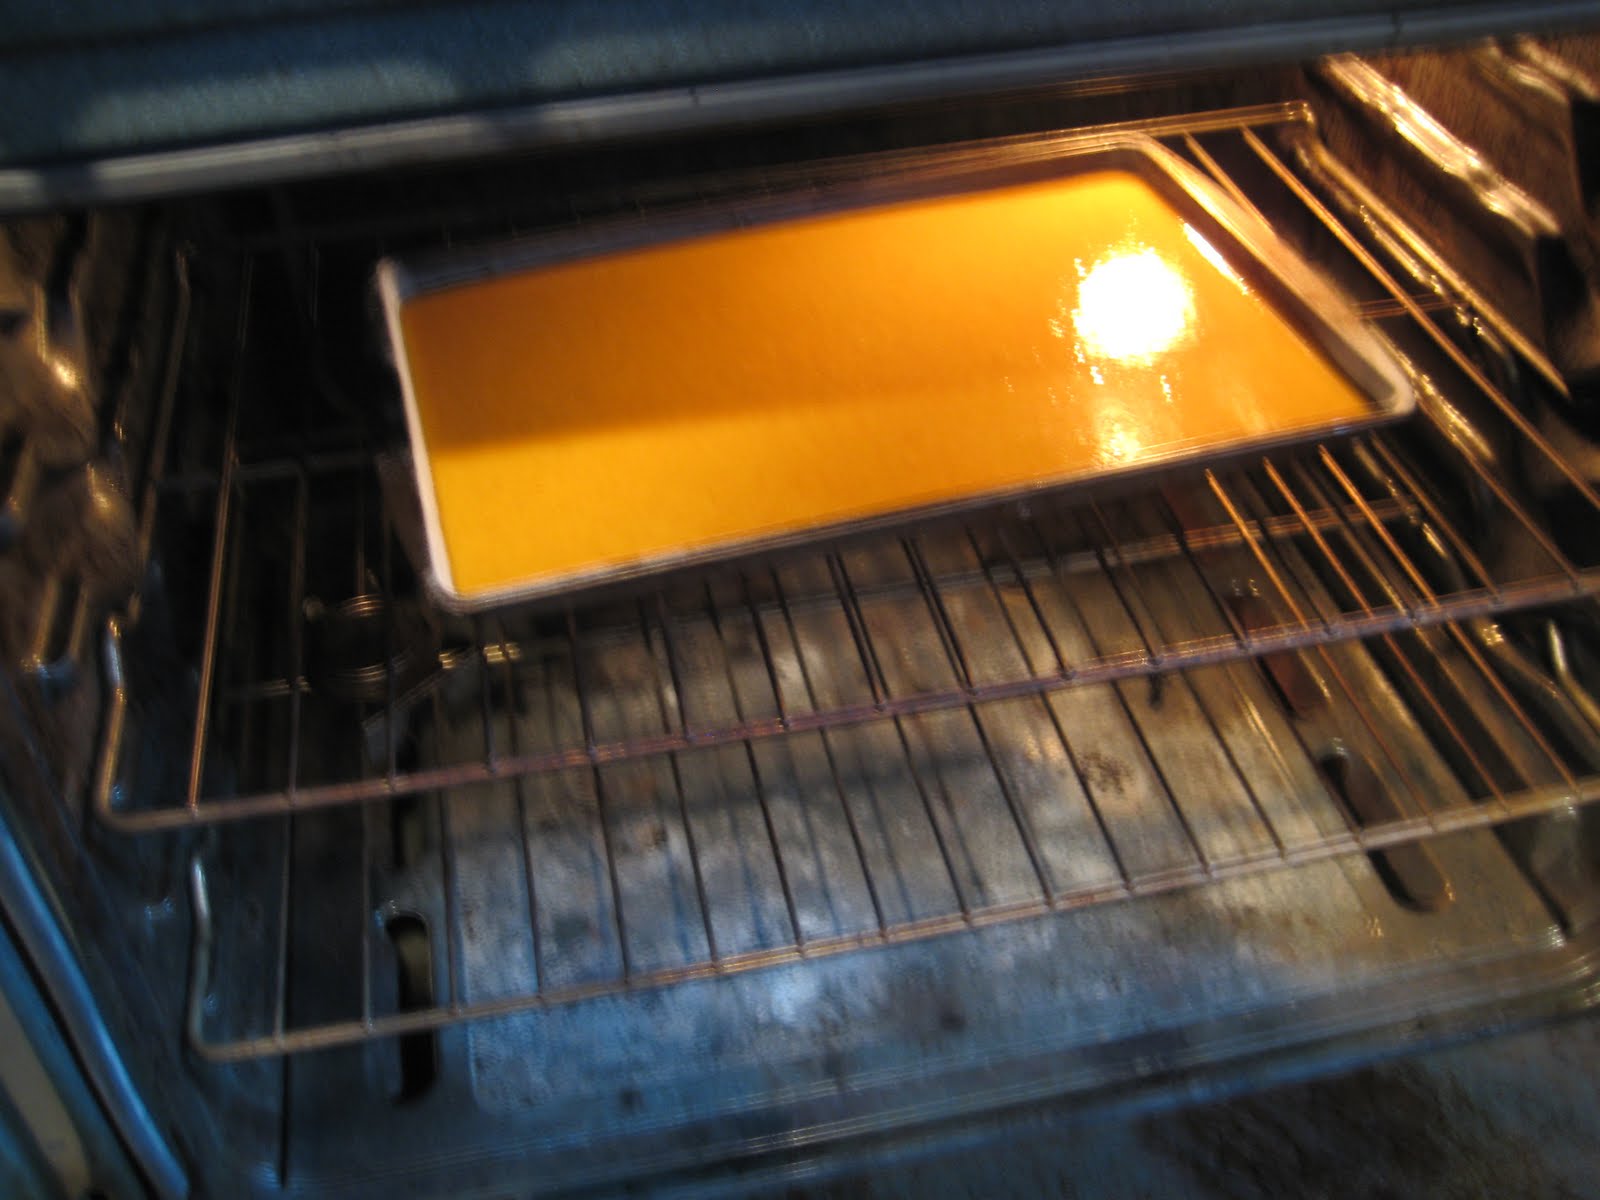
Combine your cake ingredients in a bowl (dry first then add the wet), and mix until thick. Then pour your batter into the jelly roll pan and spread it out evenly, like so:


Sometimes if it's bubbly I lightly "tap" the pan on the counter to get them out.

Pop the pan in the oven for about 13-15 minutes, or until its springy (it might not take that long, depending on your oven).

 
While the cake is baking, prep a clean, dry, flat weave towel by laying it flat and sprinkling it generously with powdered sugar. If you want to buy one, they're usually labelled as "flour sack" towels.


Here's what mine looks like -

 Dont lie, I know you think it's hot :)

When you take the cake out of the oven, make sure you dont reach around the potholder and burn your thumb like I did (ouch). Pull it out, loosen the sides, and turn it onto your prepped towel, then dust the top with more sugar. My cake usually ends up sticking to the pan, but just use a long spatula and carefully separate it if the cake needs a little help.


Next is the most difficult part - rolling the cake. You need to do this while it is warm because it is easiest, and as it cools the cake will keep the "memory" of being rolled, and make it easier when you put the filling on it. Starting on the LONG side, carefully roll it up in the towel, like so:


Let it cool about 15 minutes. While you're waiting is a good time to mix up your frosting. Make sure your cream cheese and butter are softened, and that you sift your confectioners sugar as this helps keep the smoothest consistency for the filling. I usually forget about the sifting, but thats just because I dont have anything to do it with. Add the ingredients in a bowl and mix it up.


By now your cake should be cool, so unroll the towel and get to fillin'- I usually fill on the "under" side (that was in the pan), because then the nice top part is what you see when you eat it.


Then you roll the cake up again - leave the towel out this time, though.


Wrap it up in waxed paper or parchment, and pop it in the fridge. When its ready to serve, slice it up and make it pretty on a plate.

nom nom.


Happy Eating!

Friday, December 16, 2011

Salt City Chains Worldwide

I love sending out orders across the globe, so I thought I'd share a map of where my jewelry has gone off to

Within the US -


And everywhere -


I wonder where I'll "go" next?