Showing posts with label origami. Show all posts

Tuesday, December 13, 2011

Tutorial: Origami Cherry Blossom

Ok, here's Part 2! How to make an Origami Cherry Blossom, I hope my photos help explain it -

Start with a square piece of paper, I used 3" x 3" -


 Fold it in half


 Then fold the bottom right corner so the right edge meets the top like so:
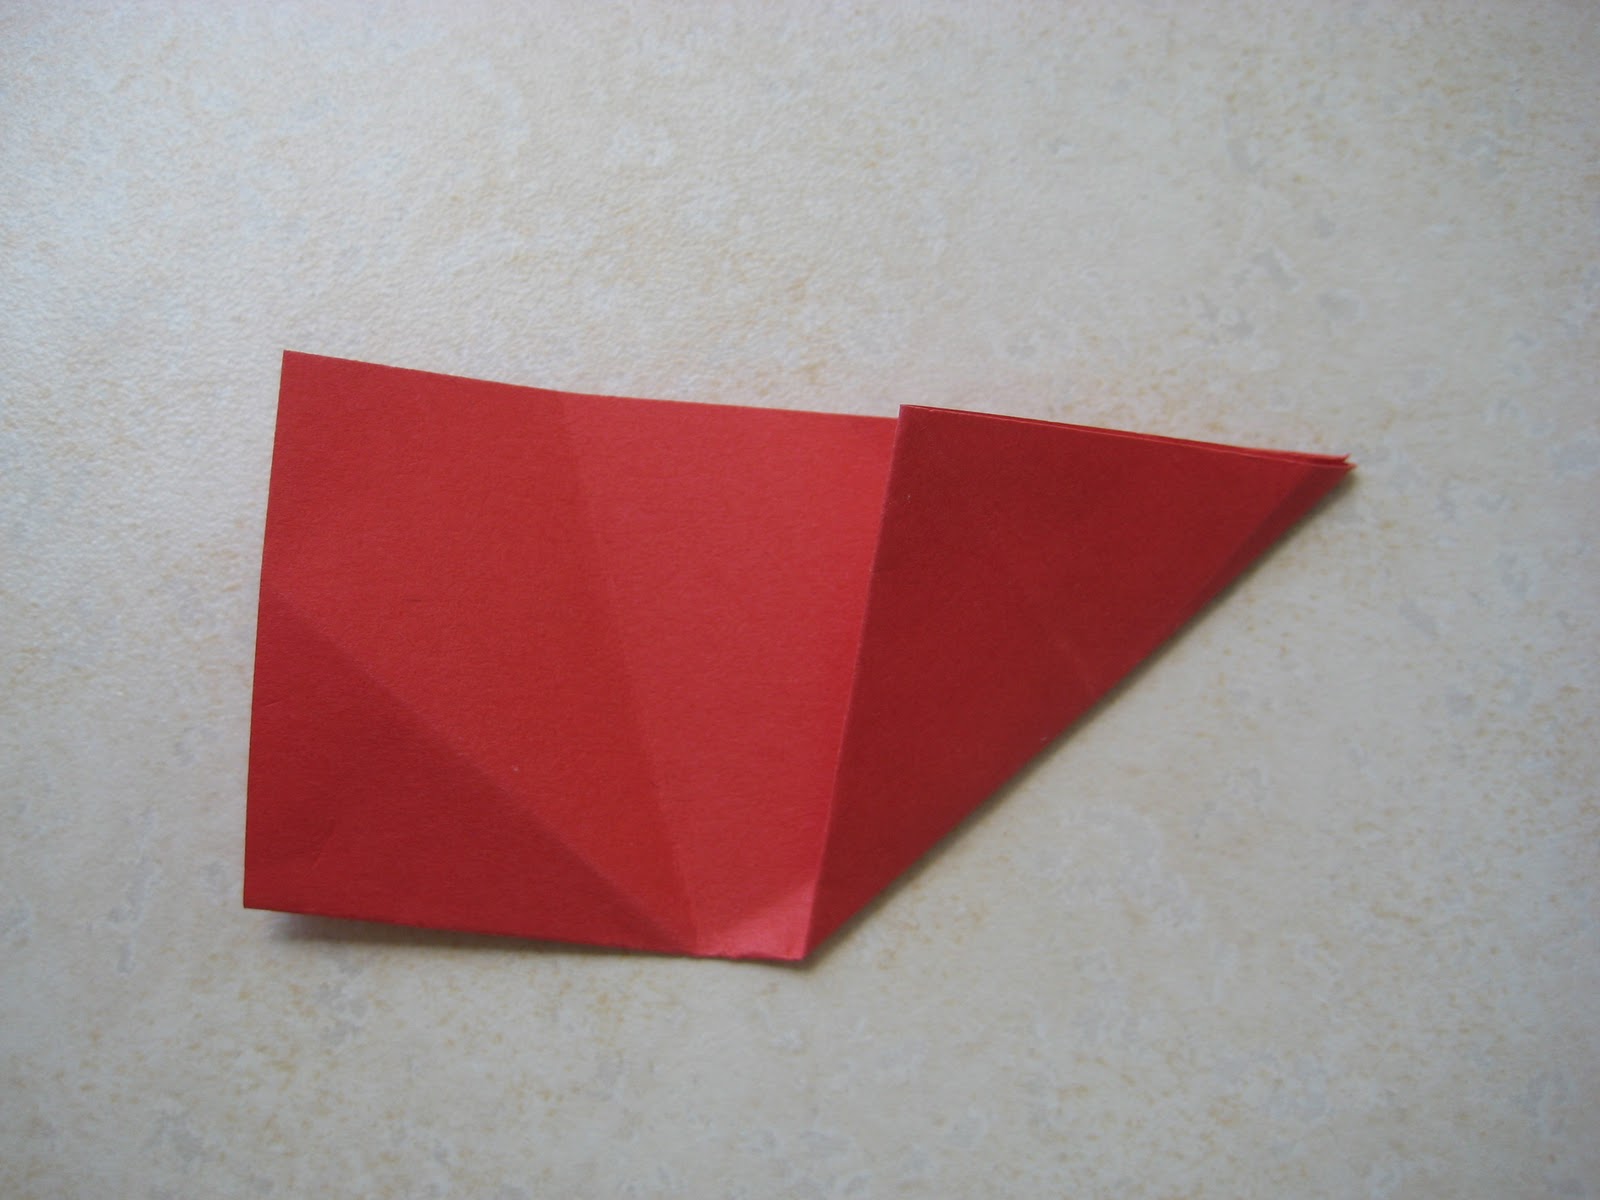

Repeat with the top right corner - fold so the side meets the bottom edge:


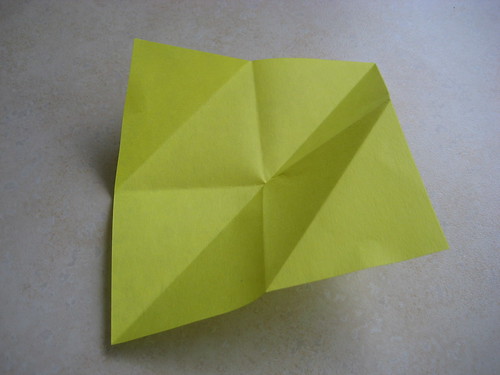
Next fold the left bottom corner to meet the "x" created by the creases


Then fold the point back so the edges meet like so:


Take the bottom right corner and fold the paper so the bottom edge meets the edge you just created:


Fold the 2 halves backwards on each other along this line:


So they look like this:


Next, get out your scissor & a pencil - you can mark out the leaf shape or just cut


So you get this:


Clip off the points -


If you open it all up, the flower will look like this:


Now fold the petals together until they're "sandwiched" between 2 others -


Like this:
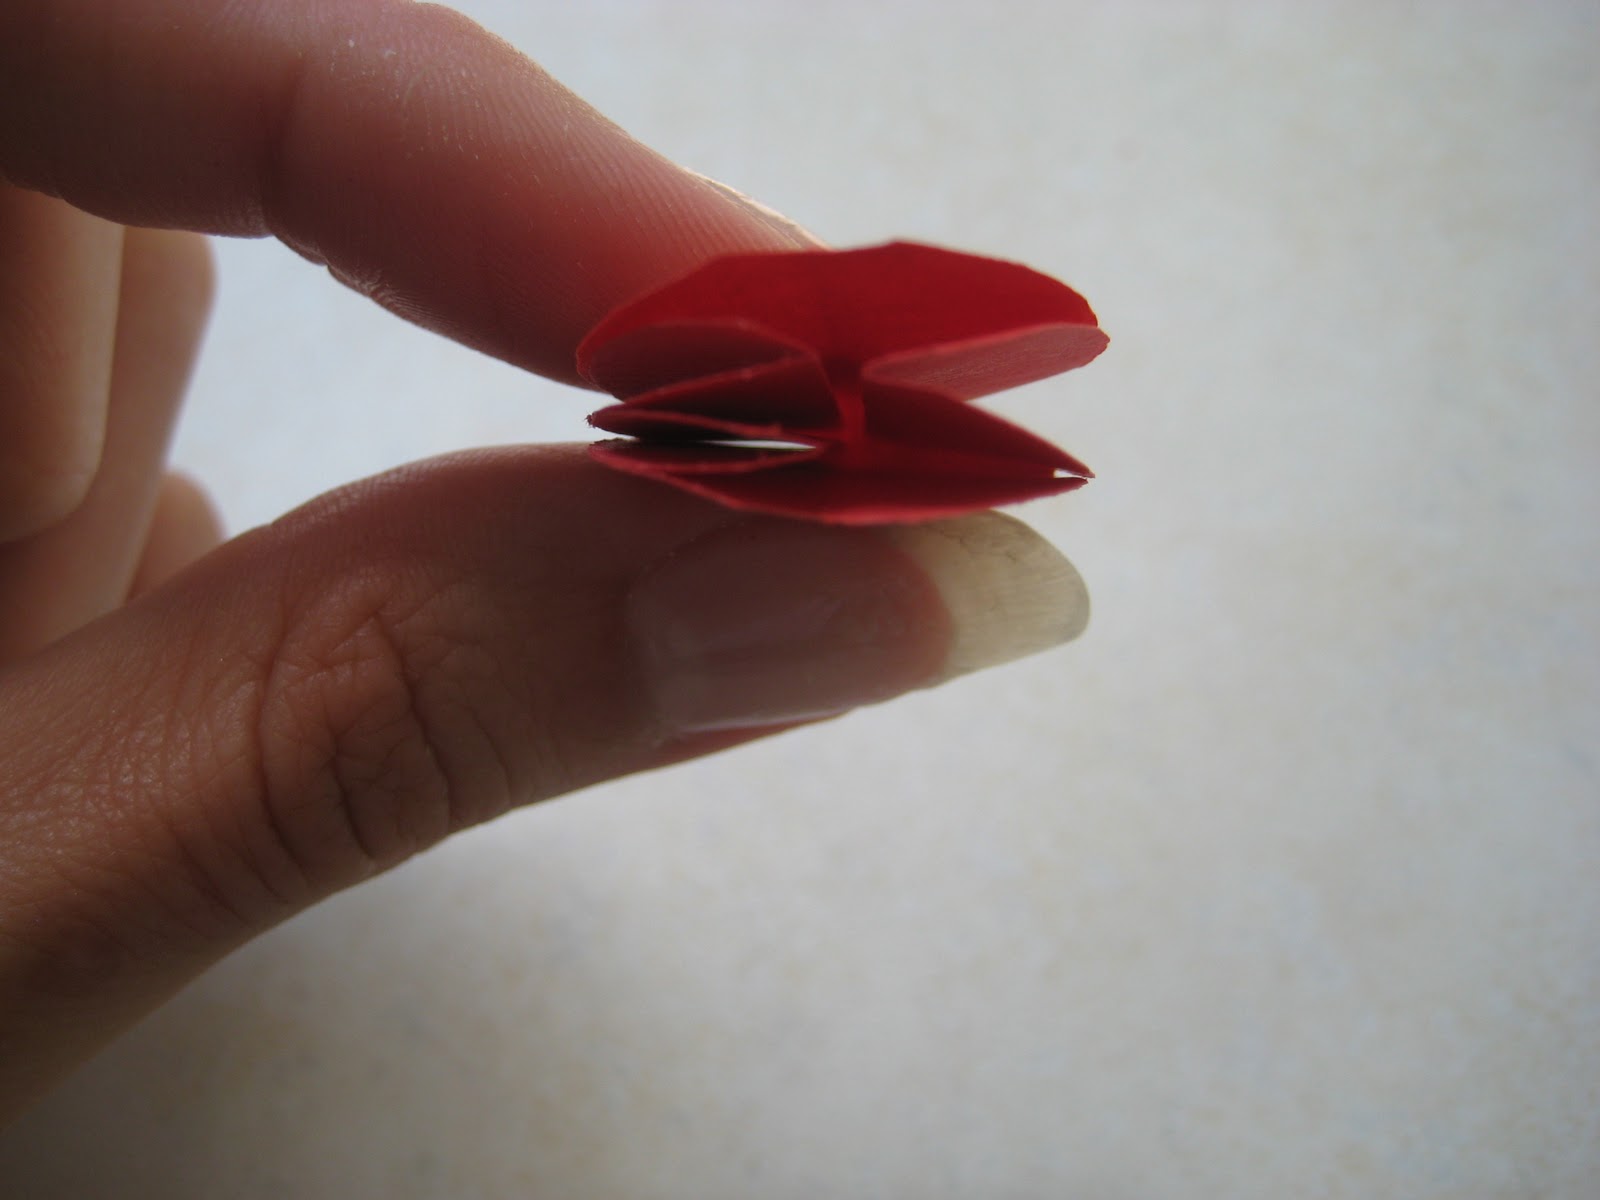

Then fold the bottom edge up


Flip and repeat


Then C-a-r-e-f-u-l-l-y pull the leaves apart and flatten out the flower

Heres the back side:


And heres the front!


Tada!

Wednesday, December 7, 2011

Tutorial: Origami Gift Box

Here's the tutorial I promised to share with you last time - a simple origami gift box!

  • I started with a 12 x 12 piece of scrapbook paper, you can start with any size that has equal sides
  • Fold it in half both ways
 
  • Then bring the points in to meet the "x" created by the folds
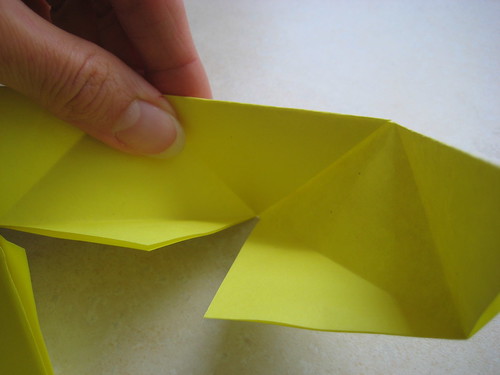
  • unfold 2 of the flaps like so:
  •  Then fold the flat sides to meet in the center:
  •  Then take the pointed side and fold it to meet the edge like this:
  •  do that in both directions, on both ends:
  •  Open it back up and fold the point down to match the creases you just made on the opposite side:
  •  do that on both ends, your paper should look like this:
  •  The creases and folds should pretty much do the work for you from this point -
  •  fold the sides in to meet
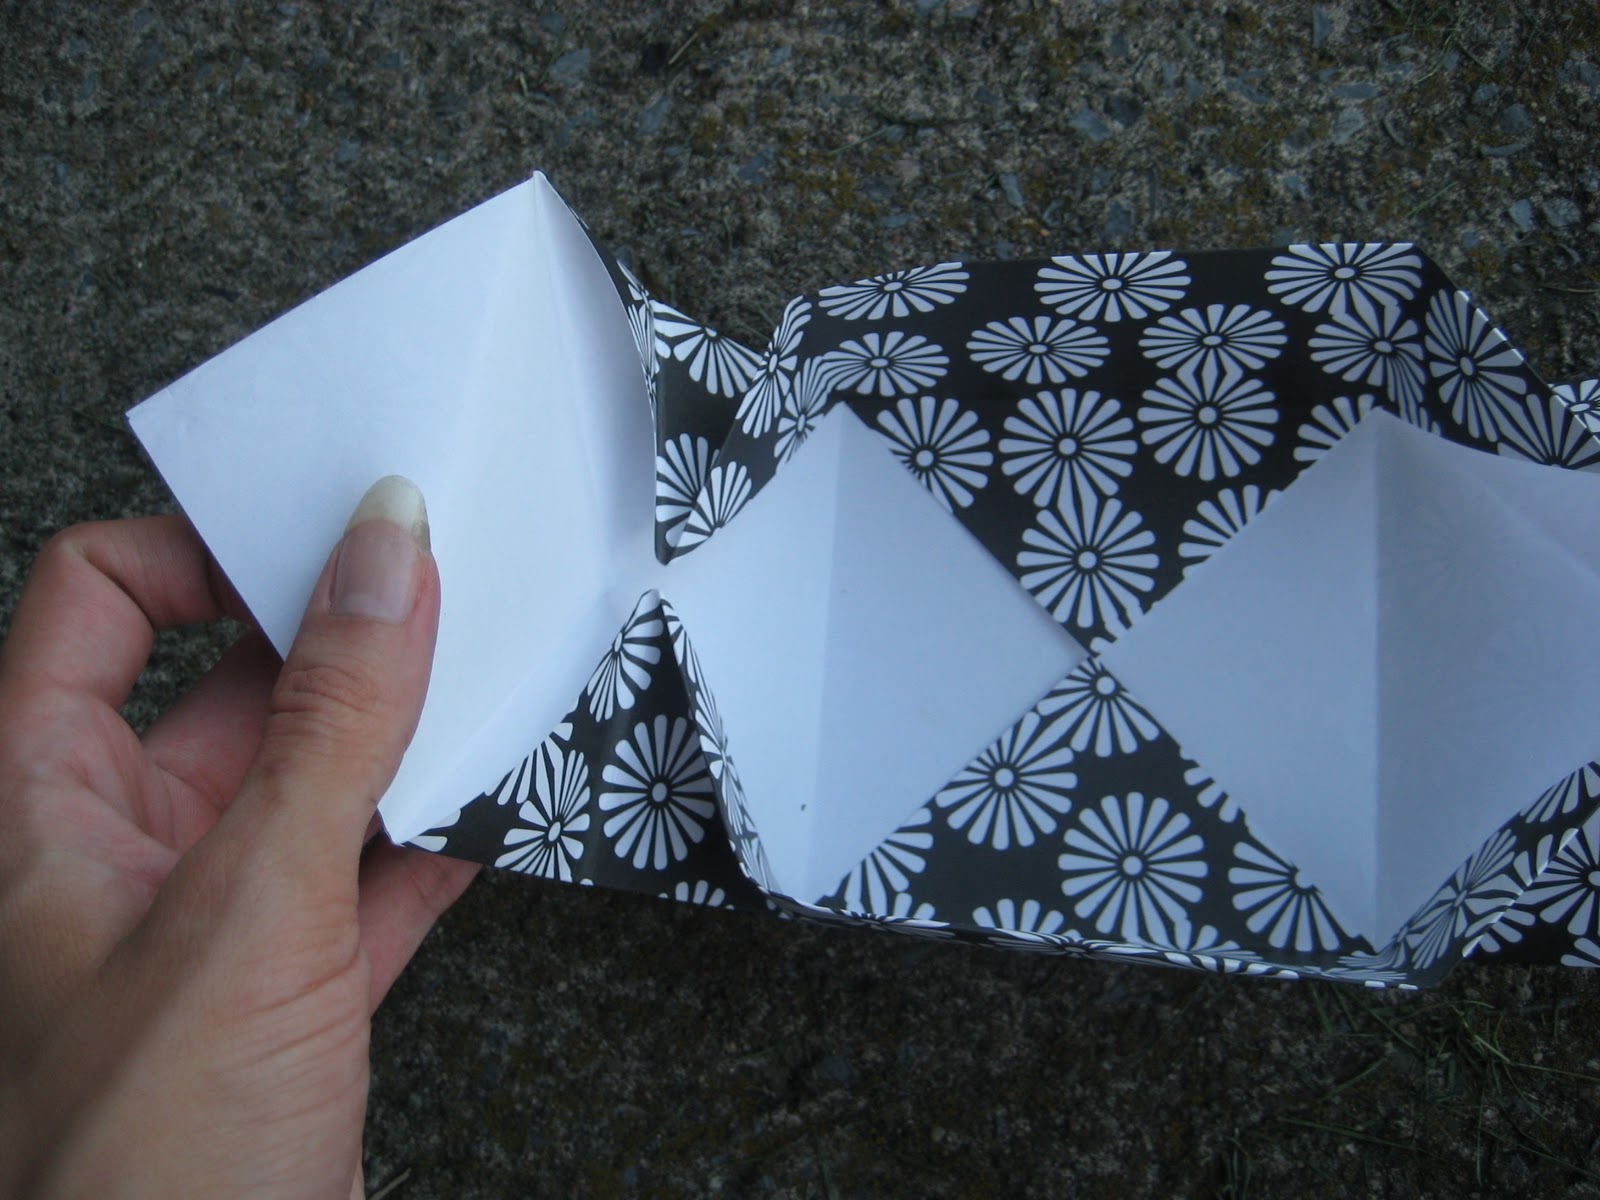
  • Then fold the pointed "flap" over the sides to hold everything together-
  •  Repeat on the opposite side. Ta Da!
To make the bottom of the box, cut your sheet of paper roughly 1/2" smaller than the size you just used.

You can use just about any type of paper for this - scrapbook paper, plain white paper, I've even used paper bags in a pinch! This little box is a great way to add an extra special handmade touch to a gift. I've also taken to using them as the packaging for my jewelry, or when I'm working on chainmaille or beadwork and need an extra container. These also work great just making one half and using it as a catch all on your desk, to hold coins, paper clips, or even candy! The uses are endless. What would you use it for?

Next time around I'll share how to make the flower on top!

**addendum - My origami box was also featured on One Pretty Thing in the Flickr Friends Roundup!**
Thanks so much!

Monday, December 5, 2011

Origami Gift Box & Cherry Blossom


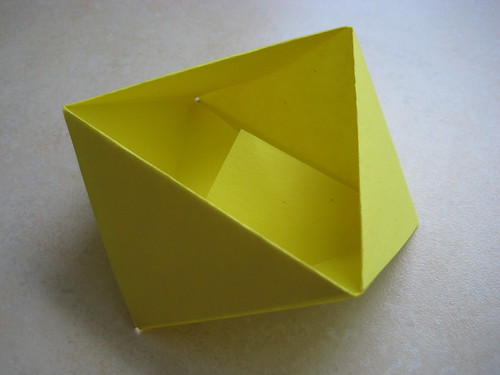
Ever in a bind and dont have any gift bags or boxes for small items? Got some scrapbook paper handy? All you need are 2 pieces of paper and a scrap for the flower and you're all set.

This origami box is a simple yet elegant way to wrap presents or just to whip up and store tiny things around the house. The Cherry blossom adds a sweet touch if you're giving it as a gift.

I'll share a quick tutorial with you on how to make these, stay tuned!

Tuesday, June 14, 2011

Tuesday How To - Origami Lucky Stars

Since I made the comment before about how I get so many remarks on the little paper stars on my table , I thought I'd share with you how to make them.


I fully admit my addiction to anything celestial-themed. They're quick and easy if you need "busy work", too.

Step 1 - Pick your paper

The type of paper you choose is important, depending on how big you are planning to make your stars. For this tutorial, I used "ordinary" printer paper, with a design printed on it - the page is standard 8 1/2 x 11 inches.

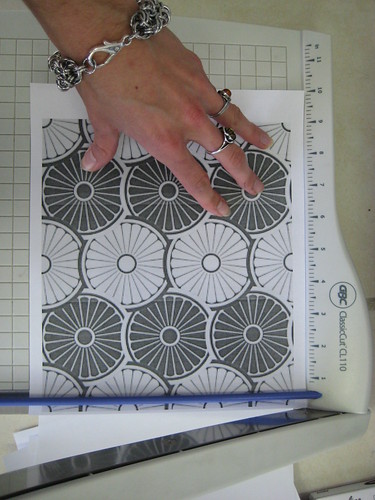
Step 2 - Cut your paper


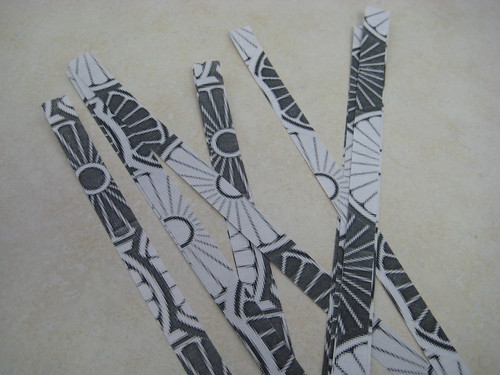
A paper cutter helps with this step since it makes the straightest edges, but you can just use scissors. Take your paper and cut it into 1/2 strips, lengthwise, so the strips will be 11 inches long:


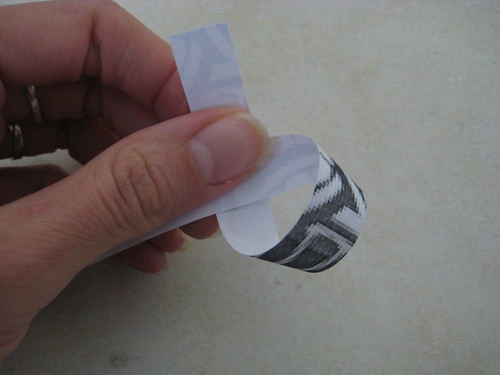
Step 3 - Take one strip and "tie a knot" in it - You have to be gentle with this step so you don't fold it too tight

Fold the paper around:


Pull the "tail" through the loop


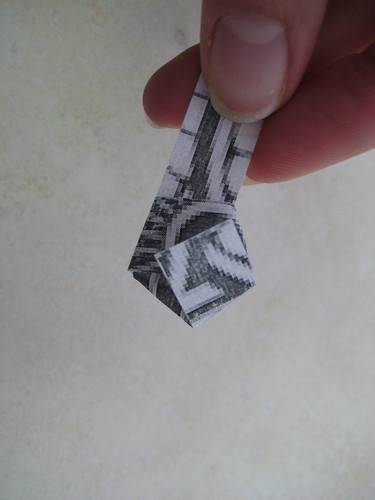
Gently flatten the shape- this creates your "base" shape.

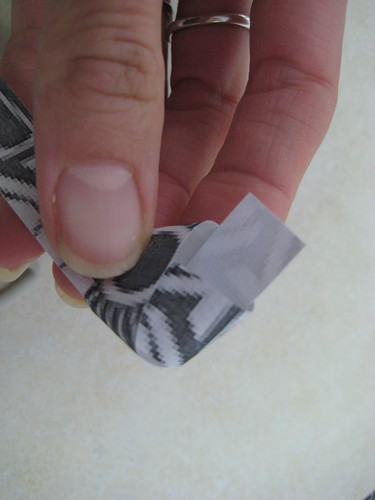
Keep wrapping the "tail" around the pentagon, following the sides, and tuck the tail into a flap. 
Dont wrap the star too tight, since you need a little leeway for the next part.

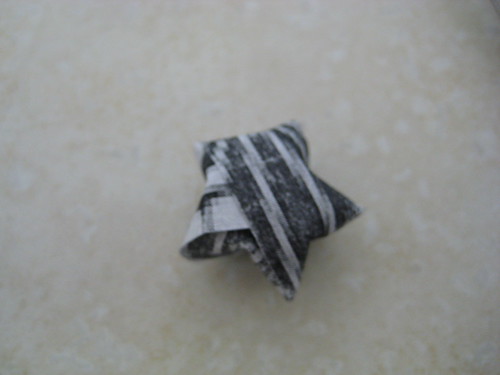
Step 6 - "Dent" the sides in, creating your star - 

All done! 

You can do a lot with these stars - Use them as confetti, string them into garlands, or even make jewelry!
The possibilities are endless!

Now go count your lucky stars :)

Tuesday, March 29, 2011

Tuesday How To - Origami Triangle Box

While you might know that I am pretty handy with a pair of pliers, I also have many other crafty interests that I devote my time to - origami being one of them. Origami is like magic - how else can you explain turning a plain sheet of paper into something useful, or simply beautiful?

Today I'm going to show you how to make a simple, practical storage solution - completely out of paper!


Start with a square sheet of paper - I used 4" x 4"


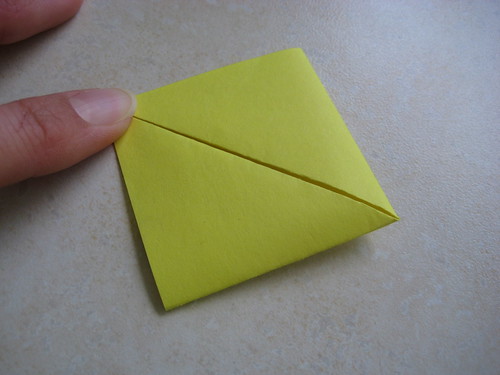
Step 1 - Fold the paper in half, diagonally


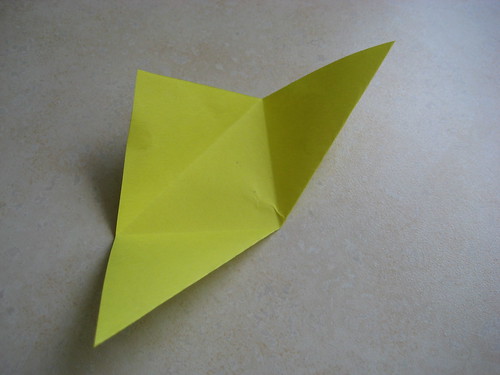
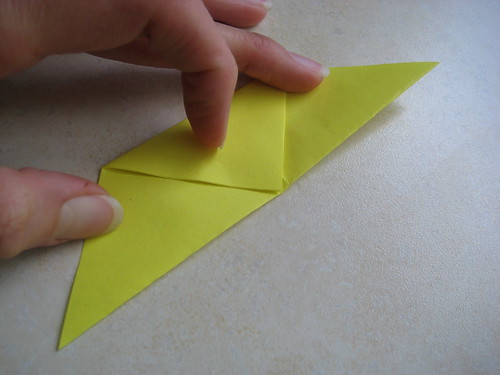
Step 2 - Fold the two end points down into the center, to create a diamond


Step 3 - Fold the center point up, into the center of the long edge


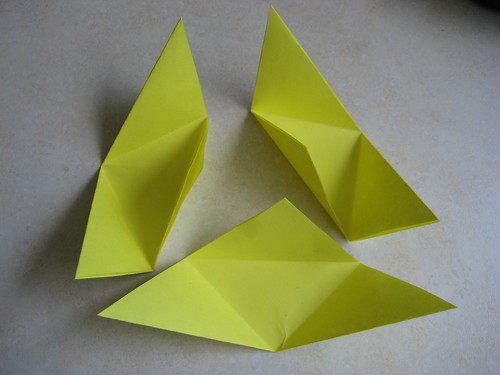
Step 4 - Repeat steps 1-3, with two additional pieces of paper


Step 5 - Fit the edge of each long side into the fold "slot" on the next piece


Step 6 - Overlap the short "flaps" to create a bottom on the box

Tada!
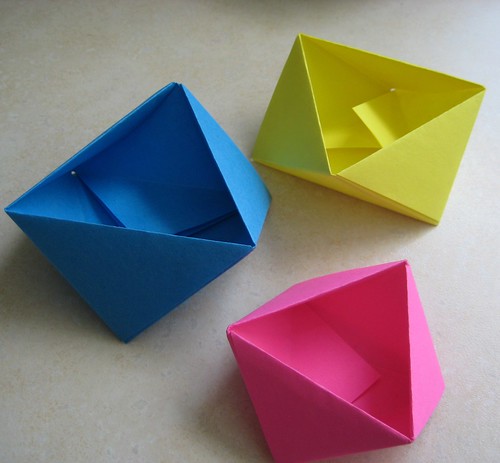
You can tape the bottom flat if you like, but remember that traditionally origami uses only paper. The bottom will also lay flat once you put things into it. I make them up from scrap paper to hold coins, paper clips, and they're also especially useful as a container for my rings when I'm working on a chainmaille project.


They'd also be great for Easter to hold jelly beans and other yummy goodies.

What would you use them for?